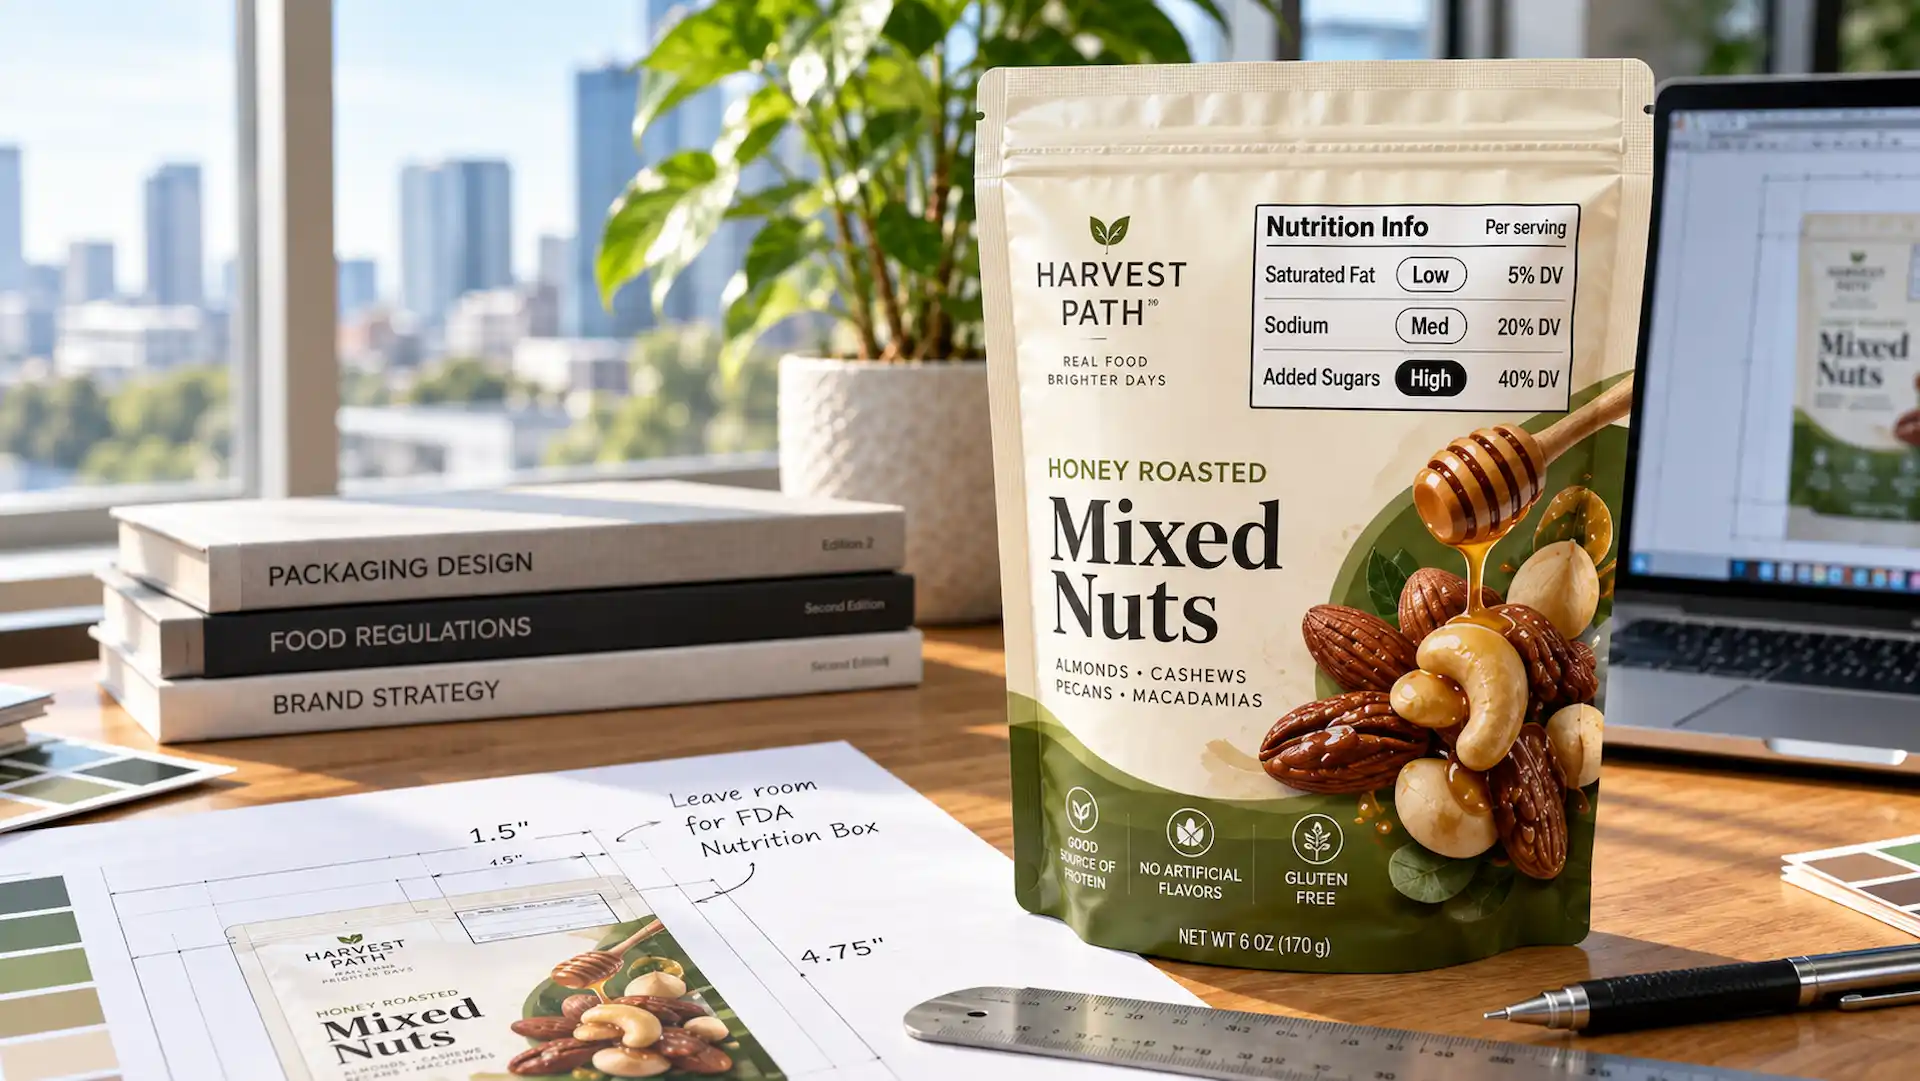

























A custom pouch may look simple on the shelf, but its artwork starts with a flat technical layout: the dieline. It shows where the pouch begins and ends, where seals and gussets sit, and where artwork should be placed so the finished pack looks right.
Before design starts, the pouch style, size, and features need to be settled. If you are still choosing the right custom flexible pouch for your product, do that first. This guide walks through how to read a pouch dieline, how to use one, and when a packaging change means you need a new file. Free downloadable templates are further down. First, though, it’s worth confirming the right pouch size and capacity for your product, because the dieline follows the size, not the other way round.
What Is a Dieline in Custom Printed Pouches?
A dieline is a flat, two-dimensional drawing of your pouch before it becomes a pouch. Think of it as the pattern a tailor cuts from. Everything the finished bag will be, from its width and height to the gusset at the base and the notch someone tears to open it, exists first as lines on that flat file.
Three groups rely on it:
- Designers build artwork onto it, so every graphic lands where it should on the finished pouch.
- Prepress teams check the submitted file against it before press.
- Production uses it for cutting, sealing and placing features correctly.
Artwork is designed on the dieline rather than beside it for one reason. A pouch isn’t flat when a customer picks it up. A logo that looks centred on screen can end up halfway down a gusset fold once the bag is filled and standing. The dieline lets you catch that early.
Our own templates are supplied as exact pouch layouts including bag features, seal areas and a trim line, so you’re never estimating where edges fall.
Important: A dieline is not your finished artwork, and it isn’t a packaging mockup either. It’s the technical foundation both sit on. The dieline itself never prints.
How to Read a Custom Pouch Dieline
Open a dieline for the first time and it looks like a lot of lines doing nothing in particular. Once you know what each is for, it reads fast.
Pouch Dimensions and Panels
Every pouch dieline starts with measurements.
| Measurement | What it controls |
| Width | How wide the front and back panels are |
| Height | Top-to-bottom height, including seal allowances |
| Gusset / depth | The folded panel that gives the pouch its capacity |
On a stand-up pouch you’ll see a front panel, a back panel, and a bottom gusset that tucks under. Flat bottom pouches add side panels, which is why they carry more printable area and a different layout. Keep mentally folding the flat file into its finished shape as you work.
Trim Line, Bleed and Safe Area
These three sit within millimetres of each other and get mixed up constantly.
- Trim line — the finished edge of the pouch. This is where the material is cut.
- Bleed — where background and graphics extend past the trim line, so a small shift on press doesn’t leave a white sliver along the edge.
- Safe area — the inner zone where logos, copy, barcodes and legal text belong.
Rule of thumb: extend backgrounds outward, pull important content inward.
Gussets and Seal Areas
This is where pouch dielines stop resembling carton dielines.
A gusset is a folded material. When the pouch is empty, most of it sits tucked away. Fill it and the gusset opens out. Artwork crossing it gets split, stretched or partly hidden depending on how full the bag is.
Seal areas are the bands along the edges where film is heat-sealed shut. Nothing readable should sit inside them. Text placed in a seal comes out compressed, distorted or simply gone.
Practical approach: design as if the pouch were filled and standing on a shelf, not lying flat on screen.
Zippers, Tear Notches and Hang Holes
Functional features take up space, and the dieline shows how much.
- Zipper — sits below the top seal and creates a band to keep clear of small text.
- Tear notch — a small cut in the side seal. Nothing critical belongs near it.
- Hang hole — punched through the header for peg display, removing the printable area outright.
- Windows and spouts — where specified, these appear as clear zones.
Each shrinks your usable artwork space, which is why features need confirming before design starts.
Eyemarks and Other Production Marks
You may also spot small marks outside the main artwork area. They aren’t decorative and don’t appear on the finished pouch. They exist so automated equipment knows where each pouch begins and ends on a moving web of film.
An eye mark is the most common of these. We’ve covered what they do and when you need one separately, so this stays short.
Leave production marks exactly where you found them.
Why Pouch Style and Size Change the Dieline
There’s no universal pouch dieline. Structure dictates layout, so a template built for one style won’t transfer to another.
Stand-Up Pouch Dielines
A stand-up pouch dieline shows a front panel, a back panel and a bottom gusset that opens out to let the bag stand upright on a shelf. Seals run along both sides and across the top. Because the gusset folds under, artwork near the base needs care: what reads as the bottom of your design on screen may fold out of sight once the pouch stands.
Flat Pouch Dielines
Flat pouches are the simplest. No gusset, no standing structure, just front and back panels with seals around the edges. Fewer variables, fewer places to go wrong. The safe area still matters though, and seals are proportionally wider on small formats.
Flat Bottom Pouch Dielines
Flat bottom construction adds side gussets and a separate base panel — five printable surfaces instead of two. It gives far more design space, particularly for side panels, but also more folds to plan around. Check the flat bottom size chart before requesting a dieline and you’ll save a round of revisions.
Custom Sizes Need Custom Dielines
This is the one that costs people money.
Do not resize an existing dieline yourself. Scaling a 6″ × 9.5″ × 3″ template to your own dimensions doesn’t scale seal widths, gusset geometry or feature positions correctly. The result looks plausible on screen and matches nothing on the factory floor.
If your pouch needs custom sizing, request a dieline drawn for those exact dimensions.
When Do You Need a New or Updated Pouch Dieline?
Once you accept that structure drives the template, the next question follows: when does a packaging change actually require a new file?
When You Change the Pouch Size or Style
Any move between sizes or styles means a different dieline. Going from 8 oz to 12 oz. Switching a stand-up pouch to a flat bottom. Moving from flat pouches to stand-ups. All change panel dimensions, gusset geometry, or both.
The template has to match the pouch being made now, not the one before it.
When You Add or Move Functional Features
Feature changes are trickier because they don’t always look structural. Adding a zipper, shifting a tear notch higher, introducing a hang hole, a window or a pour spout — each alters the usable artwork area.
The question isn’t whether a feature exists. It’s whether its position or specification affects where your artwork can sit.
When Can You Reuse the Same Dieline?
Often, and this is the useful half of the answer.
Different flavours, formulas and SKUs can share one dieline as long as size and specifications stay identical. Six coffee blends in the same 12 oz stand-up pouch means one template with six artwork files on top.
There’s a commercial upside too. Multiple SKUs can be split within one custom printed order when every pouch runs on the same dieline, with a 500-bag minimum per SKU. Standardising around one or two formats pays for itself on that alone.
How to Use a Dieline for Your Pouch Artwork
Understanding the file is half the job. Here’s the sequence.
Step 1 — Confirm Your Pouch Specifications
Lock the structure before anyone opens Illustrator. You need:
- Pouch style
- Width and height
- Gusset depth
- Zipper (and which type)
- Tear notch
- Hang hole
- Window
- Any finishes or special features
Confirm the structure, then design. The other way round is how artwork gets rebuilt twice.
Step 2 — Download or Request the Correct Dieline
Two routes:
- Standard size — download the template from the list below and start straight away.
- Custom size — request a dieline drawn to your specifications.
Either way, work from the actual file. Don’t measure off a PDF proof or old print run.
Step 3 — Place Your Artwork on a Separate Layer
Keep the dieline on its own layer and lock it. Build artwork on layers above.
- Don’t move structural lines.
- Don’t delete them to tidy the file.
- Don’t merge everything down before sending.
Prepress needs those lines intact to check placement. A flattened file with no dieline reference takes longer to approve.
Step 4 — Check Every Panel and Production Area
Before you export, walk the file panel by panel:
- Front panel — everything inside the safe area
- Back panel — correct orientation
- Gusset — no critical content crossing the fold
- Bleed — backgrounds extended fully
- Seal areas — clear of text and logos
- Zipper band — no small type
- Tear notch — nothing important nearby
- Hang hole — clear of copy
- Window — artwork adjusted around it
- Barcode — flat surface, inside the safe area, never on a fold
Step 5 — Save and Submit the Artwork
Vector artwork gives the cleanest print result. Accepted formats: AI, EPS and layered PDF.
Keep fonts outlined or supplied, the dieline layer intact, and don’t flatten. Our artwork setup guidelines go deeper on file preparation, including what to do if your designer works in another program.
Download Free Custom Pouch Dieline Templates
Ready to use. Pick your style and size, download the file, and build artwork on top of it.
Stand-Up Pouch Dieline Templates
| Capacity | Dimensions | Links |
| 4 oz | 5″ × 8″ × 3″ | Download Dieline |
| 8 oz | 6″ × 9.5″ × 3″ | Download Dieline |
| 12 oz | 7″ × 11.5″ × 4″ | Download Dieline |
Flat Bottom Pouch Dieline Templates
| Capacity | Dimensions | Links |
| 12–16 oz | 6″ × 9″ × 3″ | Download Dieline |
| 5 lb | 7.25″ × 16.50″ × 5.25″ | Download Dieline |
Flat Pouch Dieline Template
| Format | Size | Link |
| Flat pouch sample | 3″ × 3″ | Download Dieline |
Need a Custom Pouch Dieline?
Can’t find your size? We’ll draw one. Send your pouch style, dimensions and specifications, and our design team will prepare a dieline for the pouch you’re actually producing.
Common Dieline Mistakes That Cause Printing Problems
Most artwork problems trace back to the same handful of habits.
Resizing the Dieline Yourself
Problem: seal widths, gusset depth and feature positions don’t scale proportionally.
Result: artwork that won’t match the pouch you receive.
Fix: request the correct template instead of stretching one.
Moving or Deleting Technical Lines
Problem: prepress loses the reference needed to verify placement.
Result: avoidable back-and-forth before approval.
Fix: lock the dieline layer at the start and leave it alone.
Forgetting the Bleed
Problem: the background stops exactly at the trim line.
Result: thin unprinted edges after cutting.
Fix: extend backgrounds fully into the bleed.
Placing Important Content Outside the Safe Area
Problem: logos, ingredients, legal copy or barcodes drift too close to the edge.
Result: trimmed or sealed-over information, sometimes a compliance issue.
Fix: pull anything readable well inside the safe zone.
Ignoring Seal and Zipper Areas
Problem: text lands inside a sealed band or across the zipper track.
Result: compressed, distorted or unreadable copy.
Fix: treat those bands as no-go zones for anything but background.
Forgetting About the Gusset
Problem: artwork looks perfect flat, then breaks apart once the pouch fills.
Result: a split logo, or an image that only works flat. Fix: review the design in its folded state before sign-off.
Designing Before Finalizing Pouch Features
Problem: a zipper, notch or hang hole gets added after artwork is complete.
Result: a redesign, or a hang hole punched through your product shot.
Fix: confirm every feature at the specification stage.
Combining the Artwork and Dieline Incorrectly
Problem: everything merged into one flat layer before submission.
Result: prepress can’t separate structure from graphics.
Fix: keep layers separate and clearly named.
From Dieline to Print: What Happens Next?
Once artwork is on the dieline and submitted, the file moves through a fixed sequence:
Dieline + Artwork → Artwork Submission → Prepress Review → PDF Proof → Corrections If Required → Customer Approval → Printing & Production
The proof stage is the one to slow down for. Our prepress team produces a PDF proof showing your graphics alongside windows, metallic areas, tear notches, zipper placement and other features, so you can see how everything lands before anything reaches the press. Nothing prints until you sign it off. This sits inside our process from first quote through to delivery.
Conclsuion
The sequence gets easier once you’ve been through it. Confirm your pouch specifications, download or request the matching dieline, build your artwork on it, submit the file for prepress, approve the proof, then print. Each step leans on the one before it, and every one of them leans on the dieline being correct.
It’s a small technical file, and it quietly decides whether your packaging arrives looking the way you designed it or looking like a near miss. If you’re not sure which template fits your product, send us your specifications and we’ll point you to the right file.
Ready to Start Your Custom Pouch Artwork?
Confirm your pouch specifications, get the matching dieline, build your artwork on it, submit for prepress, approve the proof, then print. Each step leans on the one before it, and all of them lean on the dieline being correct.
It’s a small file, but it decides whether your packaging arrives looking the way you designed it. Not sure which template fits? Send us your specifications and we’ll point you to the right one.
Start with the right dieline.
FAQs
1- What is a dieline in packaging?
A dieline is the flat technical template of a package showing its dimensions, trim and cut lines, seal areas and structural features. Artwork is built on top of it so every element prints in position.
2- Do I need a dieline for custom printed pouches?
Yes. Without one there’s no reliable way to know where artwork sits relative to seals, gussets and features. Every custom printed pouch order works from one.
3- Where can I download a pouch dieline template?
Standard stand-up, flat bottom and flat pouch templates are in the download section above. Custom sizes are prepared on request.
4- Can I resize a pouch dieline myself?
No. Seal areas, gusset geometry and feature positions don’t scale cleanly. Request a dieline built to your dimensions instead.
5- What is the difference between bleed, trim and safe area?
Trim is where the pouch is cut. Bleed extends past it so no white edge appears. The safe area sits inside the trim line, and that’s where important content belongs.
6- Can multiple product designs use the same dieline?
Yes, provided pouch size and specifications are identical. Different flavours or SKUs can run on one dieline, which also lets you split an order across several designs.