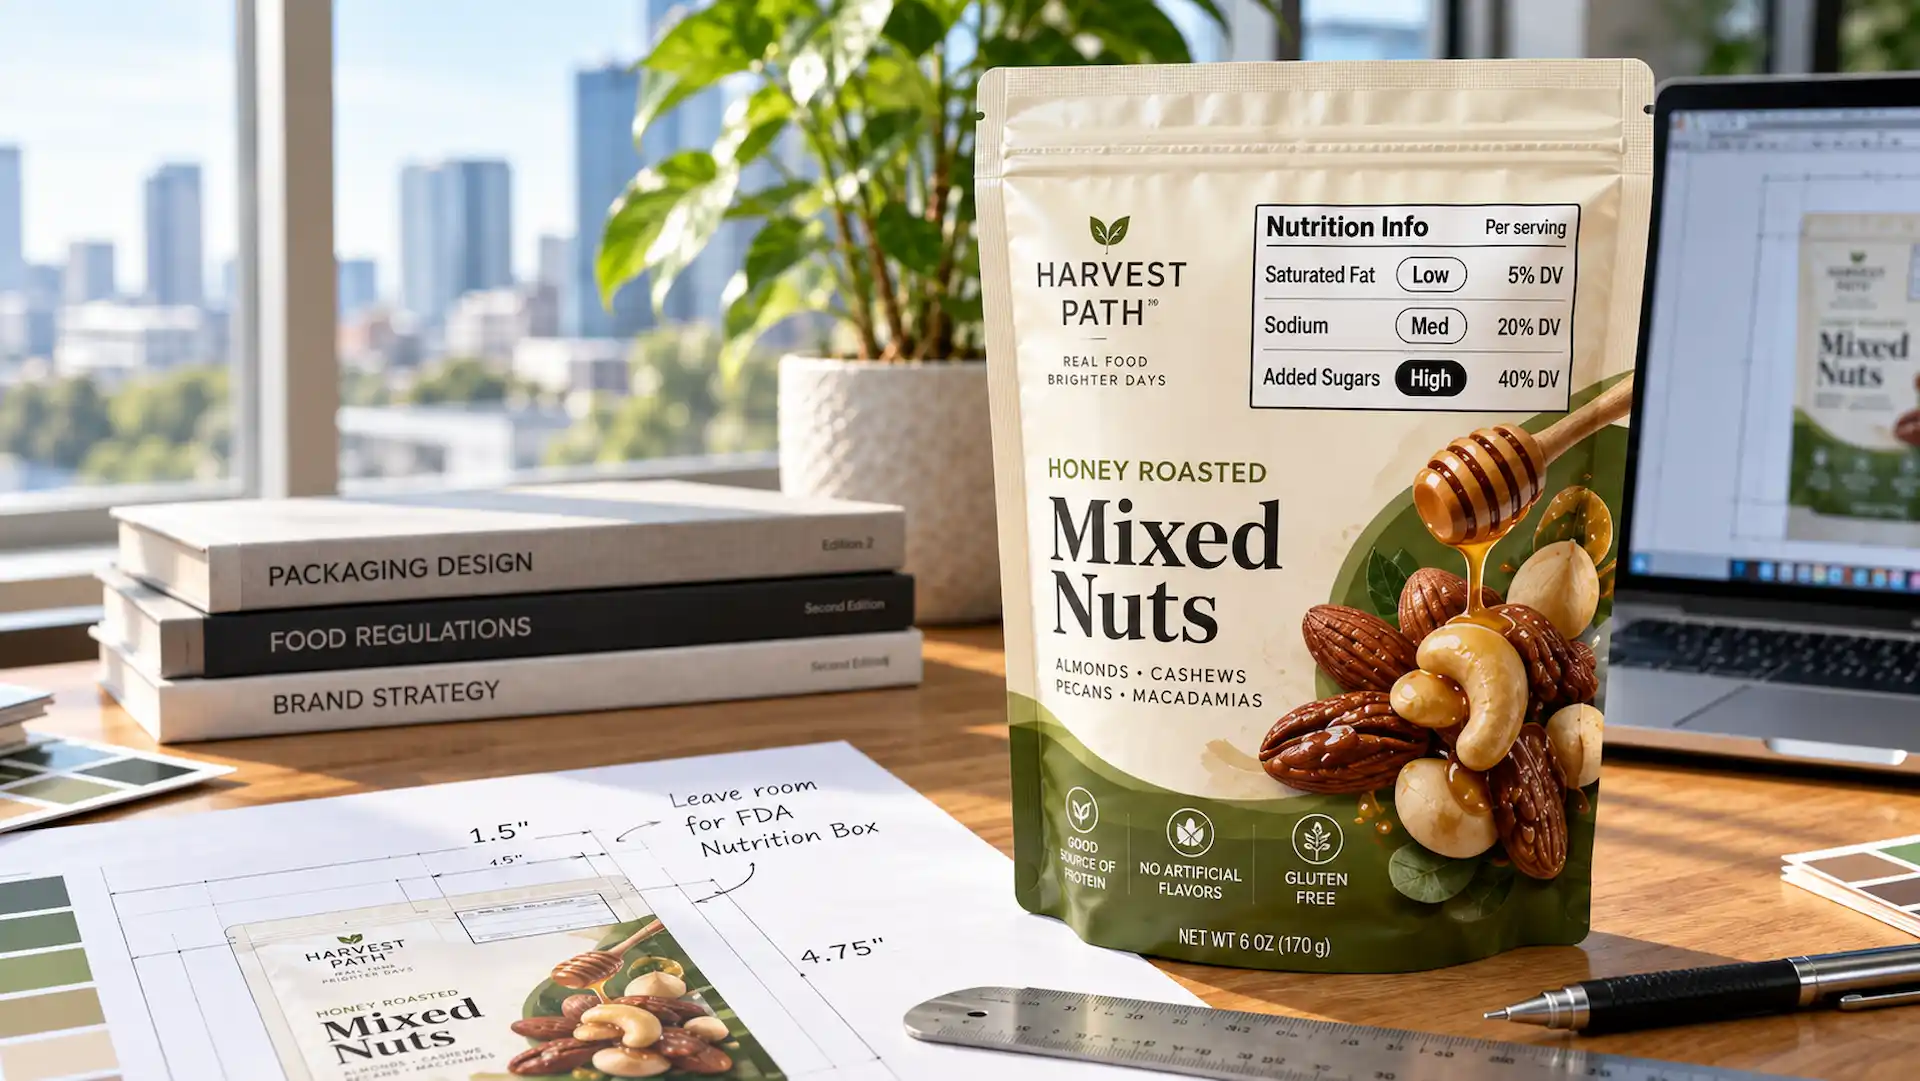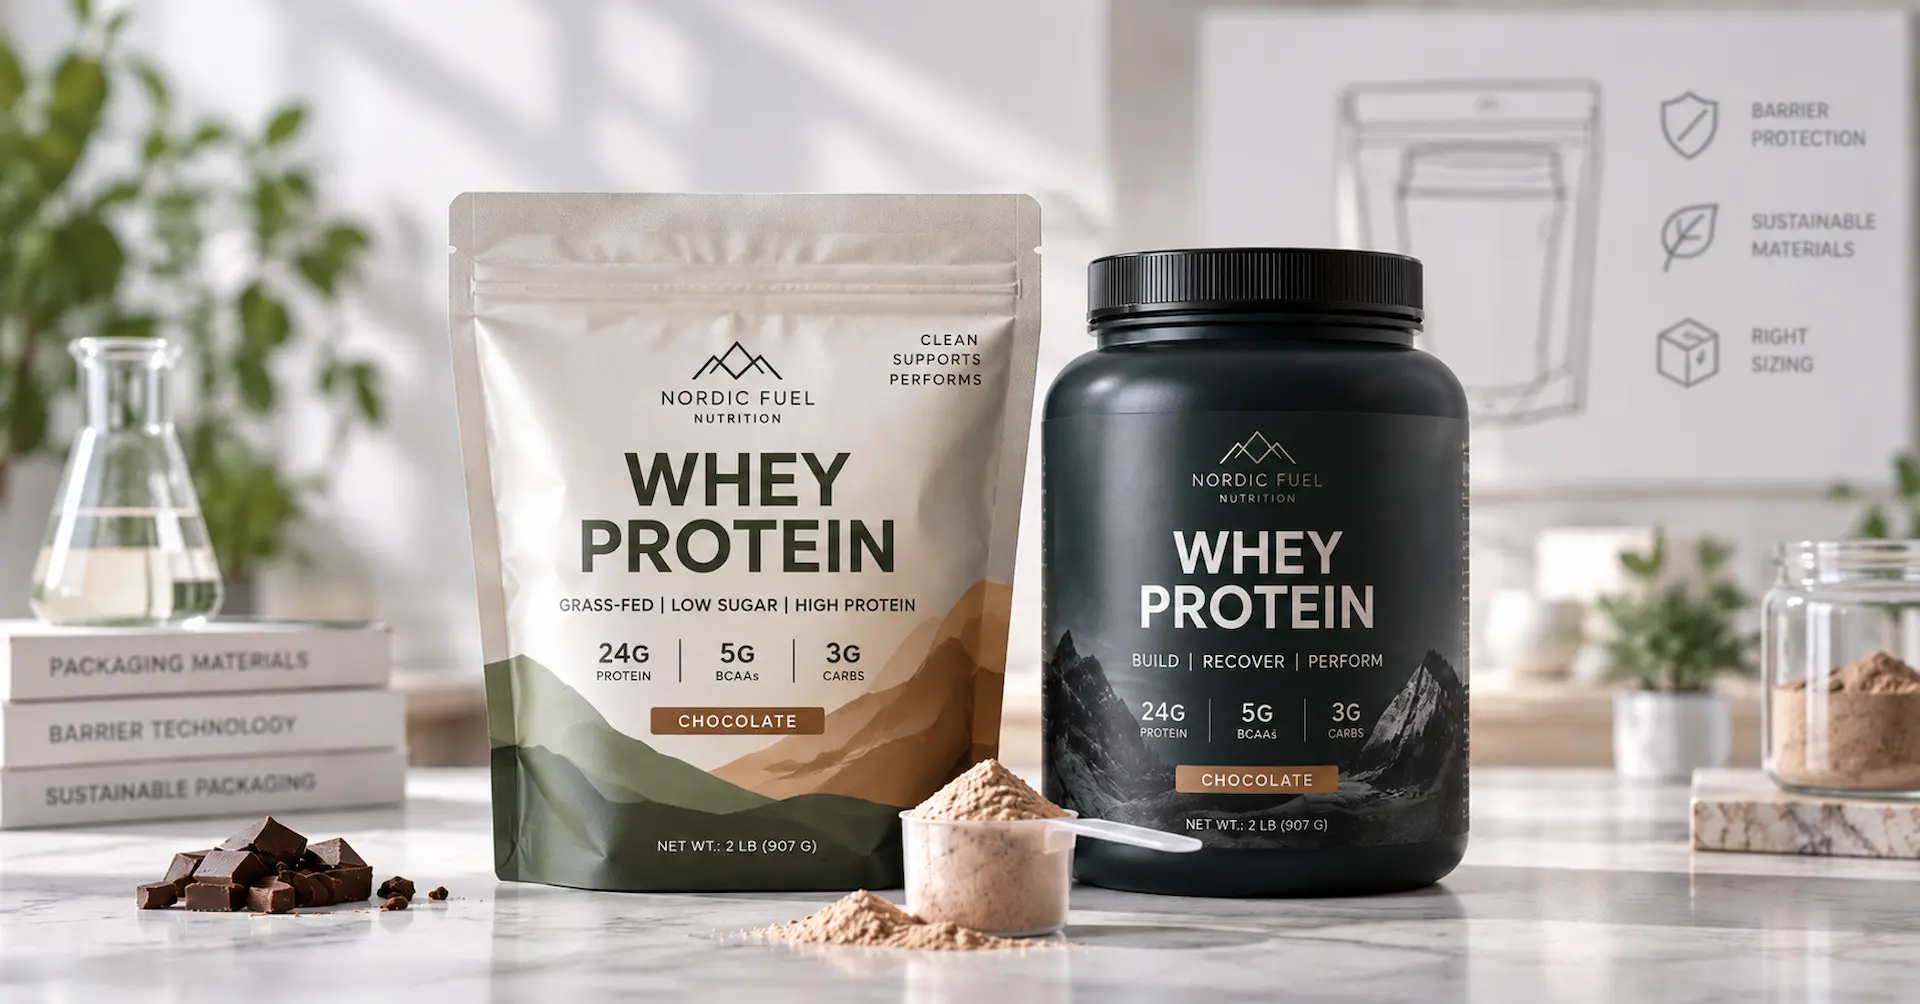








Next time you’re in a store, pick up a coffee bag and look at the print from about six inches away. The reds haven’t gone dull. The ingredient panel is still readable at 6pt. The product shot has actual depth instead of that flat, slightly muddy look cheap packaging gets. None of that is luck. It comes down to how the pack was printed, and nine times out of ten the answer is rotogravure.
The printing method is the decision brands skip past early and pay for later. It sets how your pack holds up on shelf, what each unit costs you, and how long you sit waiting for stock. This guide walks through rotogravure without the jargon. You’ll get the process step by step, a straight explanation of why it still leads on quality, and enough numbers to work out whether it suits your volume or not.
What Is Rotogravure Printing? (Understanding the Basics)
Rotogravure prints from an engraved cylinder. Your artwork gets cut into the metal rather than raised above it, ink settles into those cuts, and pressure lifts it back out onto the packaging film.
The technology dates back to the 1800s. It’s also still what the flexible packaging industry reaches for when print quality can’t slip, and that combination is the interesting part. Processes don’t survive a century of newer competition unless nothing else does the job as well.
Rotogravure Meaning Explained
Split the word and it explains itself. “Roto” is the rotating cylinder. “Gravure” is French for engraving. So the rotogravure meaning is printing from a rotating engraved cylinder. That’s the whole definition.
The meaning of rotogravure sits inside a broader category called intaglio printing, where the image lives below the surface instead of on top of it. Ink drops into the sunken areas, then transfers across on contact. Gravure printing meaning runs on the same principle, just scaled up to industrial speed and web widths.
Suppliers write it a few different ways. Roto gravure printing, gravure, roto printing. All the same process.
What Makes Rotogravure Different from Traditional Printing?
Most printing you’ve come across works in reverse. Letterpress and flexographic printing use a raised image, so ink sits on the high points and gets stamped down. Think of rubber stamps.
Gravure is recessed. Cells hold the ink, a blade scrapes the surface bare, and pressure draws that ink back out onto the material.
Reverse the geometry and you change the output in ways you can see without a loupe. Ink transfer gets tighter and more repeatable. The ink film goes down thicker, so colors read as saturated rather than thin. Fine detail survives, because each cell carries its own ink volume. Edges stay crisp too, since nothing is pressing outward and pushing ink slightly past where the artwork ends.
Rotogravure vs Gravure: Is There Any Difference?
Buyers ask this in almost every quote conversation, so let’s kill it now. Gravure is the family. Rotogravure is the version running on a rotating cylinder on a web press.
Day to day, packaging people swap the words freely. Gravure printing, gravure process, rotogravure process, and roto printing. Same method, same output. Nobody is selling you a downgrade by using the shorter term.
How Does the Rotogravure Printing Process Work?
Six stages carry your design from a file on a laptop to a printed roll on a pallet. Fumble one and the error copies itself onto every unit you receive, which is exactly why suppliers get fussy about the early steps.
Step 1: Artwork Preparation
It starts with your art file, normally built in Illustrator with proper bleeds and separations. Before a cylinder gets touched, prepress hunts for the problems that would otherwise repeat across 200,000 pouches:
- Images sitting below print resolution, which go soft or pixelated once they’re on film
- Brand colors that can’t be hit in ink and need a Pantone equivalent picked
- Text and hairlines too thin to hold at press speed
- Bleed missing around seal areas and gussets
- Barcodes placed too near a fold to scan cleanly at the till
Flexible Pouches turns a PDF proof around within 24 business hours of getting your art. Go through it properly. That proof is the last cheap moment to change anything.
Step 2: Cylinder Engraving
Artwork signed off, cylinders get made. One per color, no shortcuts.
Each cylinder is a copper-plated steel roll. A precision laser burns your artwork into the copper as millions of microscopic ink cells, and the whole thing then gets chrome plated. That chrome layer is doing real work. It shields the soft copper underneath so the cylinder holds detail through millions of impressions instead of degrading halfway through your run.
Older presses used a diamond stylus and electromechanical engraving. Laser has mostly taken over on speed and detail.
Step 3: Ink Application
The cylinder turns through an ink fountain, which is a reservoir of gravure ink and not much else. It picks up ink across its entire surface, blank areas included.
Then a thin steel doctor blade drags across and wipes the surface clean. Ink stays only where cells are engraved. That wiping stroke sounds trivial and isn’t. It’s the single reason gravure print looks sharp instead of smeared, and a worn blade shows up as streaks down the web within minutes.
Step 4: Image Transfer onto Packaging Material
Your substrate, usually a flexible film or paper web, runs between the engraved cylinder and a rubber impression roller.
The roller presses the film against the cylinder and ink lifts out of the cells. That’s the print impression. Because ink is drawn out rather than stamped down, coverage holds even from one edge of the web to the other, which is harder than it sounds at 300 metres a minute.
Step 5: Drying and Multi-Color Printing
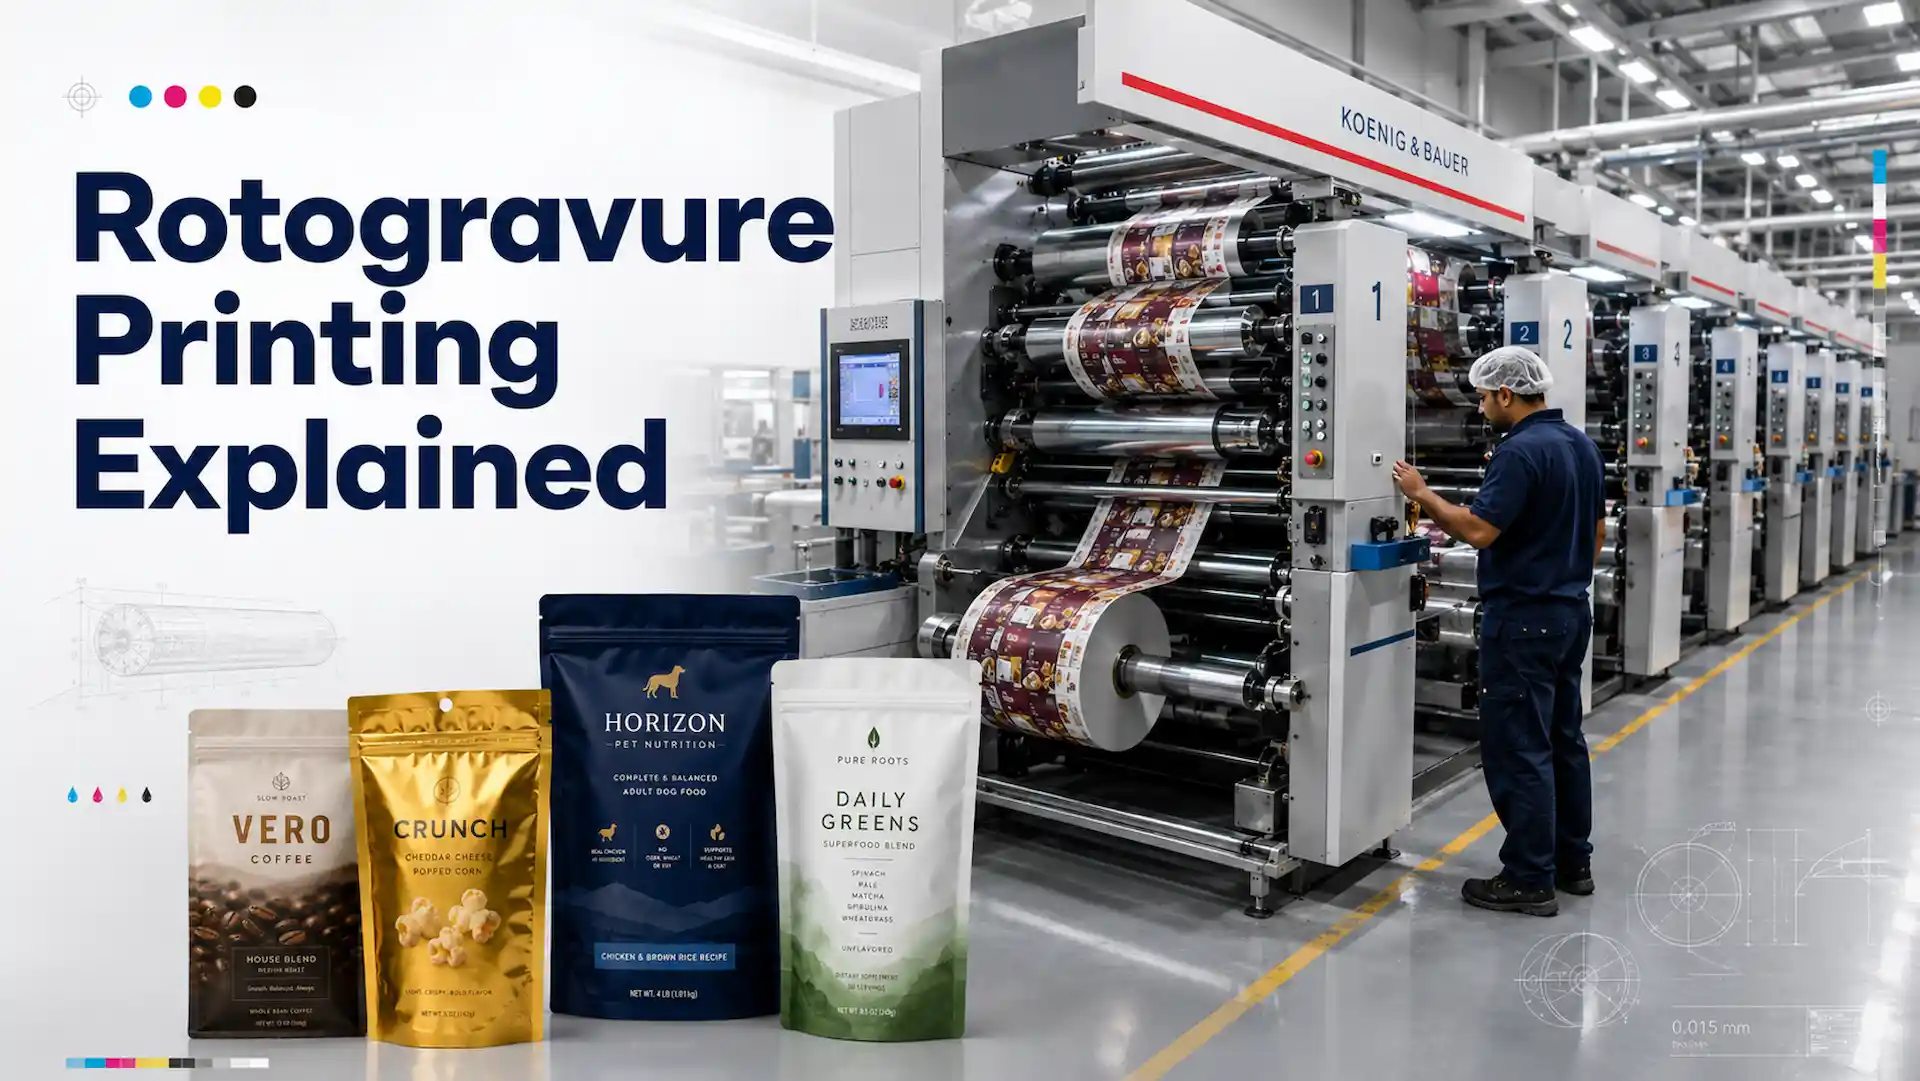
A gravure press isn’t one unit. It’s a line of stations, each laying one color, with drying tunnels between them:
- One color per station, dried by hot air before the next station touches it
- Color registration keeps every station dropping its color on the exact same spot
- Registration drift of a fraction of a millimetre shows up as ghosting around small text
- Presses monitor and correct registration automatically mid-run
- Solvent inks dry fast and build heavy color density
- Water-based inks run slower but cut emissions, which some facilities need
Ten stations, ten colors. That’s the practical ceiling on flexible packaging presses, and very few designs ever push against it.
Step 6: Inspection and Finishing
The printed web runs past inline cameras and manual check points. Operators hold color against the approved proof, watch for streaking or a station dropping out, and confirm registration is still holding.
From there the roll moves to lamination, slitting, and pouch making, depending on what you ordered. Checks carry on at every stage until it’s boxed.
Important Note: Engraving is a one-time cost per design, not per order. Reorder the same artwork and your cylinders come straight back out of storage, which is why gravure gets steadily cheaper the longer you stay on one design. The trade is that touching an engraved color means a new cylinder. Lock your design before engraving starts.

Why Rotogravure Delivers Superior Print Quality
Ask a printer why gravure wins and you’ll get twenty minutes of technical detail. Here’s the short version that actually matters.
Cells vary in depth and width. Deep ones carry more ink, shallow ones carry less. What you get is real tonal variation instead of a dot pattern imitating a gradient, and that’s the foundation of photo-quality printing. Blends come out smooth. Shadows don’t band.
Ink film thickness handles the rest. Gravure lays down noticeably more ink than the alternatives, so navy stays navy, reds stay hot, and metallics keep their lift instead of dulling out under lamination.
Small types hold too. Legal copy, barcodes, nutrition panels, hairline rules. In food and pharmaceutical packaging, where a regulator expects that text legible on every unit, this stops being a design preference and becomes a compliance issue.
Then consistency, which quietly outranks everything else in a big order. The cylinder is metal and chrome plated. It doesn’t swell, soften, or distort partway through. Unit one matches unit five million. If your brand is competing on shelf presence, that repeatability is the entire reason to be on this process.
Advantages of Rotogravure Printing
Outstanding Image Quality
Photography, high-definition graphics, and long smooth blends all reproduce faithfully. This is the closest packaging printing gets to a printed photograph.
1- Exceptional Color Accuracy
Each spot color gets a dedicated cylinder and custom-mixed ink matched through the Pantone Matching System. Your brand shade lands the same on run one and run twelve.
2- High-Speed Production
Gravure presses run fast and run continuously. Once setup settles, hourly output leaves most alternatives behind.
3- Ideal for Long Print Runs
Volume is rewarded. Bigger order, lower unit cost, because your setup spend divides across more pouches.
4- Durable Printing Cylinders
Chrome-plated cylinders take millions of impressions without visible wear, then go into storage and come out again for the next repeat.
5- Consistent Print Quality Across Millions of Impressions
Quality doesn’t taper off as the run goes on. Your last pallet matches your first, and your retailer never raises it.
The brands getting most out of this are usually FMCG names in national distribution, anyone running photographic artwork, businesses reordering a settled design, packs built from multi-layer laminates, and categories where the shelf does the selling.
Which Packaging Materials Are Best for Rotogravure Printing?
Gravure prints well across the full range of flexible packaging materials. These are the options you’ll be choosing between.
1- Plastic Films
BOPP, PET, PE, and CPP carry most of the flexible packaging. They take gravure ink cleanly, hold color brilliantly, and laminate together when you need more strength or barrier.
2- Foil Laminates
Aluminum foil is still unbeaten against oxygen, moisture, and light. Standard for coffee, pharma, and anything with a long shelf life. Gravure prints cleanly on foil structures and metallized films alike.
3- Paper Packaging
Kraft paper and paper laminates give the unbleached, natural finish organic and artisan brands ask for. Paper is nearly always laminated to a barrier film so the pack still protects what’s inside.
4- Multi-Layer Flexible Packaging
Most retail pouches aren’t a single material. They’re two or three films bonded together, each doing a different job. Gravure suits these structures because printing happens on the inner face of the outer layer. The ink ends up sealed between films, so it can’t scuff off in transit or under a filling machine.
| Material | Best for | Key benefit |
| BOPP | Snacks, dry foods | Clarity and stiffness |
| PET | Retail pouches, retort | Strength and heat resistance |
| PE | Sealant layer | Reliable heat sealing |
| Aluminum foil | Coffee, pharma | Maximum barrier |
| Kraft paper | Natural brands | Premium natural look |
| Rollstock | Automated filling lines | Runs on your own machines |
Common Applications of Rotogravure Printing
Gravure shows up in nearly every consumer category. These are the ones it owns.
- Food packaging. Snack bags, rice pouches, spice sachets, sauce packs. Print quality and barrier both matter here, and gravure covers both without compromise.
- Coffee packaging. Coffee needs a serious barrier and a premium finish. Foil-lined stand-up pouches with degas valves are the standard build.
- Snack packaging. Chips, nuts, dried fruit. Loud graphics, enormous volumes, tight unit costs. Textbook gravure work.
- Frozen food packaging. Print has to survive freezer temperatures and condensation without cracking or lifting off the film.
- Pet food packaging. Big-format bags, heavy ink coverage, demanding film specs, and reorder volume that stays steady year to year.
- Personal care products. Shampoo sachets, wipes packs, cosmetic pouches. Finish and color accuracy feed straight into what shoppers think the product is worth.
- Pharmaceutical packaging. Blister foils, stick packs, sachets. Tiny text has to stay legible and compliant on every unit, every batch.
- Household products. Detergent pouches, refill packs, cleaning sachets that need chemical resistance built into the film structure.
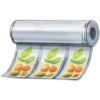
On format, you’ll see stand-up pouches, lay-flat pouches, flat bottom pouches, sachets, stick packs, resealable bags, wrappers, labels, and printed rollstock for brands filling on their own line.
Rotogravure vs Flexographic Printing: Which One Should You Choose?
This comes up in almost every packaging quote. Both handle long runs. They suit different situations.
Flexographic printing uses flexible photopolymer plates carrying a raised image. Plates are cheaper and faster to produce than engraved cylinders, and flexo has closed a lot of the quality gap over the last decade. On very fine detail and heavy solid coverage, gravure is still in front.
| Factor | Rotogravure | Flexographic |
| Print quality | Highest, photo-level detail | Very good, slightly softer detail |
| Setup cost | High (engraved cylinders) | Moderate (photopolymer plates) |
| Production volume | Very high runs | Medium to high runs |
| Printing speed | Very fast | Fast |
| Color accuracy | Excellent, deep density | Good, lighter ink film |
| Fine details | Excellent on small text | Good, can thicken slightly |
| Best packaging type | Premium retail, laminates | General retail, labels, bags |
| Cost per unit | Lowest at very high volume | Lower at medium volume |
| Best business size | Established brands, FMCG | Growing and mid-size brands |
Boil it down: very high volume plus complicated artwork points to rotogravure. Moderate volume with mostly solid colors and simple graphics usually makes flexo printing the better use of your budget.
Rotogravure vs Digital Printing: Which Printing Method Fits Your Needs?
Digital printing runs on completely different logic. No plates, no cylinders, no tooling. Your file goes straight to the press.
That knocked down the wall that used to keep smaller brands out of custom packaging entirely. Order 1,000 units instead of committing to 50,000. Run four flavors inside one job. Redesign between orders and pay nothing for the change. Variable data printing and personalization go from fantasy to line item.
| Factor | Rotogravure | Digital Printing |
| Tooling required | Engraved cylinders per color | None |
| Minimum order | High | Low, from around 1,000 units |
| Lead time | Longer | Short, often 7 to 10 business days |
| Cost at low volume | Expensive | Very competitive |
| Cost at high volume | Very low per unit | Higher per unit |
| Artwork changes | Costly | Free |
| Multi-SKU runs | Difficult | Easy |
| Best use | Mass production | Short-run printing and testing |
Important Note: Plenty of brands never commit to one method permanently. They launch on digital to test the market at low minimums, then move to rotogravure once the SKU proves itself and monthly volume climbs. Staging it that way protects your cash early and cuts your unit cost later, which beats trying to guess right on day one.

When Should You Choose Rotogravure Printing?
1- Best for Large Production Runs
Ordering in the hundreds of thousands or millions? Gravure gives you the lowest unit cost by a wide margin. Mass production is what the process was built around.
2- Perfect for Premium Retail Packaging
When your pack has to hold its ground beside a national brand on the same shelf, print quality stops being cosmetic. That’s the reason premium brands stay on gravure long after they switch.
3- Ideal for Complex Artwork
Photographic images, subtle gradients, metallic effects, ten-color designs. Engraved cylinders handle all of it better than anything else available.
4- Recommended for Brand Consistency
If the same pack gets ordered four times a year, cylinders keep your color identical across every batch. No drift, no internal argument about why this delivery looks slightly off from the last one.
If most of these are true, you’re ready: volume is high and predictable, artwork is finalized rather than still moving, the design carries photography or gradients, your brand color has to match exactly, and the pack is a laminated or foil build.
Is Rotogravure Printing Cost-Effective?
It depends on your volume, not on the process itself. Split the cost into what you pay upfront and what you pay per pouch, and the answer stops being complicated.
Understanding Initial Costs
Your first invoice carries the engraving. Every color needs its own cylinder, so an eight-color design tools up at roughly double a four-color one. Ink mixing and press setup sit on top. These are real costs and they land before you’ve received a single pouch, which is why first-order pricing can look alarming when nobody explains what’s inside it.
Long-Term Production Savings
Now divide those fixed costs by the order. At 50,000 units, setup dominates your price. At 1,000,000, it barely registers. Manufacturing cost per pouch drops steeply as volume climbs.
Reorders are where it lands hardest. The cylinders already exist, so your second run skips engraving completely. That’s the point where return on investment stops being a projection.
When Does Rotogravure Become Profitable?
No universal number exists, because pouch size, film structure, and color count all move the line. As a working guide:
- Under 25,000 units per SKU: digital is normally cheaper
- 25,000 to 100,000 units: depends on color count and whether you’ll reorder
- Above 100,000 units per SKU: rotogravure usually takes it on unit cost
- Regular reorders of one design: gravure wins sooner, since cylinders get reused
Get your supplier to quote both methods at your real volume rather than a round number you made up. The gap between the two figures decides it for you.
How to Choose the Right Printing Method for Your Packaging Project
You don’t need print expertise. You need honest answers to five questions.
- What is your order quantity? High and repeating points to gravure. Low or still unproven points to digital.
- Do you need photo-quality graphics? Photography, gradients, and fine detail favor gravure. Flat solid colors run happily on flexo or digital.
- Will your artwork change frequently? Seasonal variants, promotions, and regular label updates favor digital, because there’s no tooling to redo each time.
- Is speed or quality your priority? Need stock in three weeks? Digital. Have time and want the best print available? Gravure.
- What packaging material are you using? Complex laminates and foil builds are natural gravure territory. Simpler films run well on any of the three.
A supplier worth working with will go through these using your actual numbers, not steer you toward whichever press happens to be quiet that month. If you’re still weighing up formats and films alongside the printing decision, our guide on how to choose the best flexible packaging for your product covers that side of it.
Why Businesses Choose FlexiblePouches for Rotogravure Printing
Print quality is only half the job. Holding that quality across every reorder is the other half, and that’s what the setup at Flexible Pouches is built around.
Advanced Printing Technology
Flexible Pouches run rotogravure printing presses carrying up to 10 cylinders at once, so up to 10 colors in a single pass. That’s CMYK plus a full set of Pantone spot colors for artwork that needs them.
High-Quality Flexible Packaging
Every pouch is made to order. Stand-up pouches, flat bottom, lay-flat, retort, stick packs, and printed rollstock, all available in custom sizing rather than fixed formats.
Consistent Color Reproduction
Spot colors are engineered through the Pantone Matching System, so brand colors come out to specification and repeat accurately run after run.
Custom Packaging Solutions
Past the printing itself, you specify film structure, finish, zippers, degas valves, tear notches, and hang holes. Recyclable and fully compostable options are available on any pouch style.
Reliable Production Support
In-house graphics and prepress teams review your files before anything gets engraved. Runs from 5,000 to 5,000,000 units are held to the same standard, backed by ISO and BRCGS compliant manufacturing.
Conclusion
Rotogravure has held the top of flexible packaging for one reason. Nothing else matches its combination of image quality, color depth, and consistency across very long runs. The engraved cylinder holds detail that other processes soften, and it keeps holding it from the first impression to the last one on the order.
What you pay for that is tooling cost upfront and a longer lead time. High volume with a settled design pays that back quickly. Still testing the market? Digital is the safer opening move.
Look honestly at your annual volume, your artwork, and your reorder plans before committing to either. The right printing method is the one that fits the business you’re running today, not the one that sounds most impressive in a supplier meeting.
Ready to Bring Your Packaging Design to Life?
Your packaging is the voice of your brand, so make it loud. Whether you need rotogravure printing for a full production run or digital printing to test something new, Flexible Pouches build every order to your exact specification, in any custom size, with eco-friendly material options available.
Send your artwork over and get a free quote. Our prepress team reviews your files and has proof back to you within 24 business hours.
FAQs
1. What is rotogravure printing?
Rotogravure is a high-volume printing process that uses an engraved cylinder to transfer ink onto packaging film. Your design is cut into the cylinder as millions of tiny cells, ink fills them, and pressure pulls it onto the material as it passes through the press. It’s the standard method behind premium flexible packaging.
2. What is the difference between rotogravure and flexographic printing?
Where the image sits. Rotogravure uses recessed engraved cylinders, flexographic printing uses raised photopolymer plates. Gravure holds finer detail and lays down deeper color but costs more to set up. Flexo is cheaper to start and does well on simpler artwork across medium runs.
3. Is rotogravure printing expensive?
The first order is, because every color needs its own engraved cylinder. Unit cost falls quickly as volume rises, and reorders skip engraving altogether since cylinders are stored and reused. For high-volume packaging, gravure usually works out cheapest overall.
4. Which materials can be printed using rotogravure?
Most flexible packaging materials. BOPP, PET, PE, and CPP films, aluminum foil, metallized films, kraft paper, and multi-layer laminated structures all print well. It also handles rollstock for brands filling on their own production lines.
5. How long do gravure cylinders last?
Chrome-plated cylinders are built to take millions of impressions with no visible wear. Between jobs they go into storage and come back out for repeat orders of the same design. You only need a new one if you change the artwork for that color.
6. Can rotogravure produce photographic-quality images?
Yes. Cells vary in depth and size, so the process reproduces genuine tonal variation instead of faking it with dot patterns. That gives you smooth gradients, clean shadows, and sharp fine detail, which is as close to photographic reproduction as packaging printing gets.