





















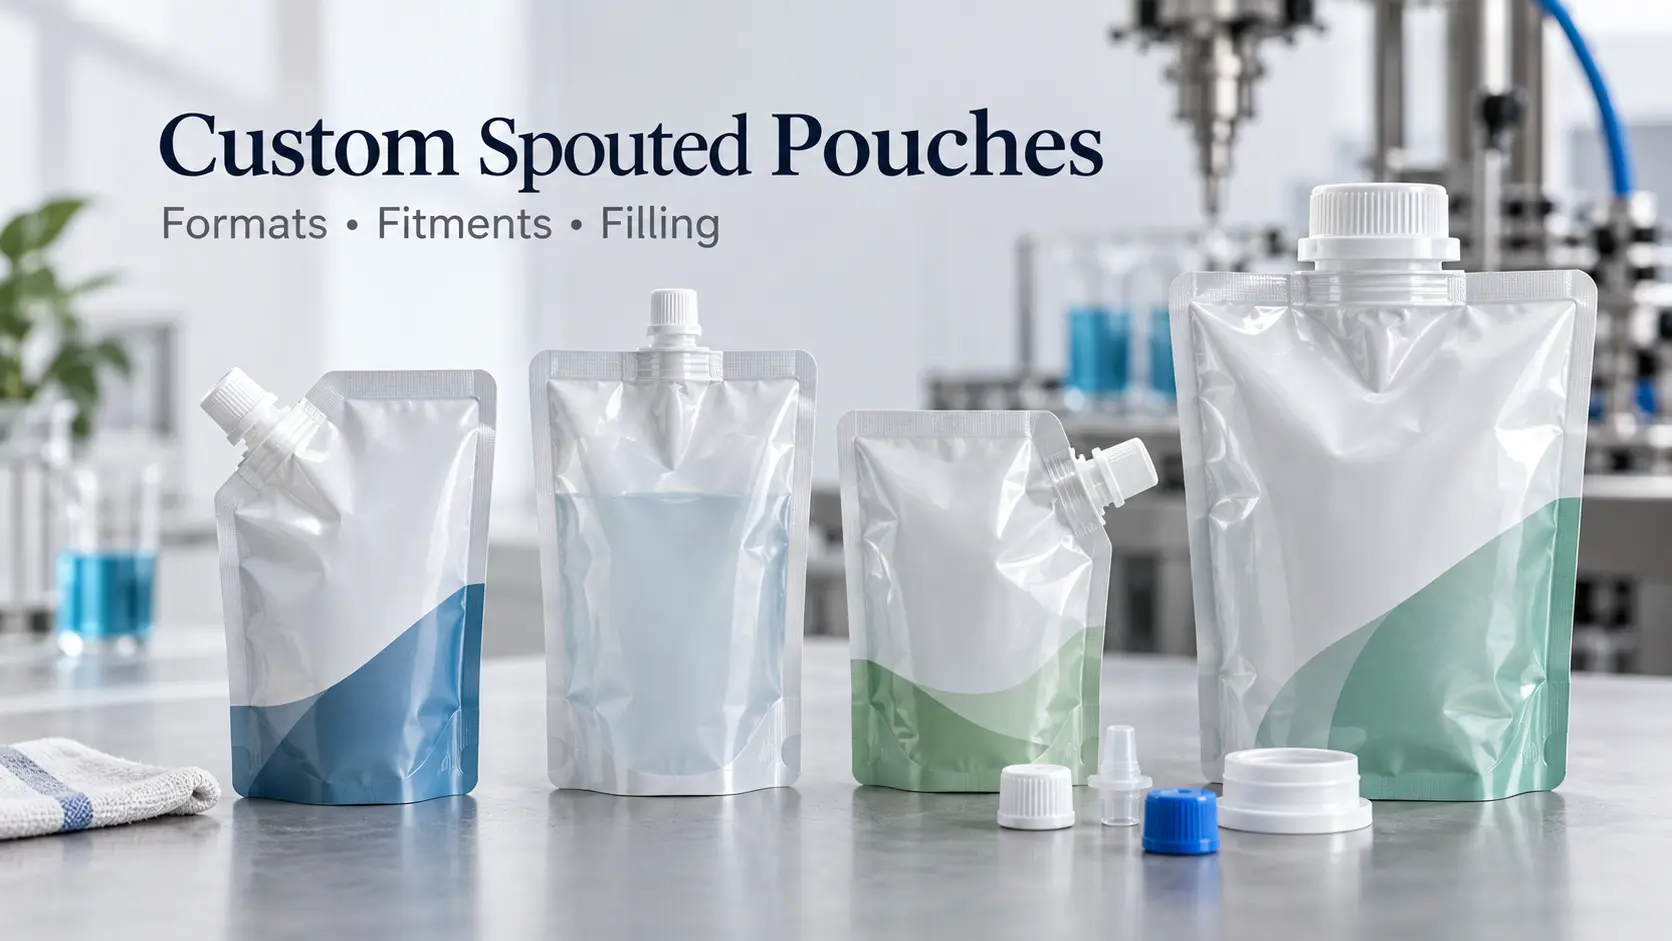
Walk down any grocery or beauty aisle today and you’ll spot spouted pouches holding baby food, juice, shampoo refills, and even motor oil. Brands love them because they pour like a bottle but weigh far less and ship flat. Still, a good spout pouch is more than a bag with a cap on top. Working with the right flexible packaging manufacturer matters because every part has to suit your product.
The pouch format, spout, cap, film, and filling method all affect each other. Pick a narrow spout for a chunky sauce and it will clog. Choose the wrong film for a hot-filled drink and the seals may fail. This guide explains each choice in plain words, so you can order custom spouted pouches that look great on the shelf and run smoothly on your filling line.
What Are Spouted Pouches?
Spouted pouches are flexible bags fitted with a plastic spout and cap. They’re built for liquids, gels, and semi-liquid products that need controlled pouring.
The Main Parts of a Spouted Pouch
Every spout pouch has four basic parts:
- The pouch body: A laminated film that holds and protects the product.
- The fitment: The hard plastic spout sealed into the pouch. Its flat base is called the flange.
- The cap or closure: Seals the spout between uses.
- The seals: Heat-sealed edges that keep everything leak-free.
If one part is weak, the whole pack fails. That’s why buyers should treat them as one system.
What Products Can Be Packed in Spouted Pouches?
Pouches with spouts suit almost anything that flows, such as:
- Fruit purees, baby food, and smoothies
- Juices, energy drinks, and wellness shots
- Sauces, dressings, syrups, and honey
- Shampoo, body wash, and hand soap refills
- Detergents, cleaners, and motor oils
Dry powders usually do better in other formats. For single servings, many brands choose stick pack packaging instead.
Spouted Pouch Formats and Spout Positions
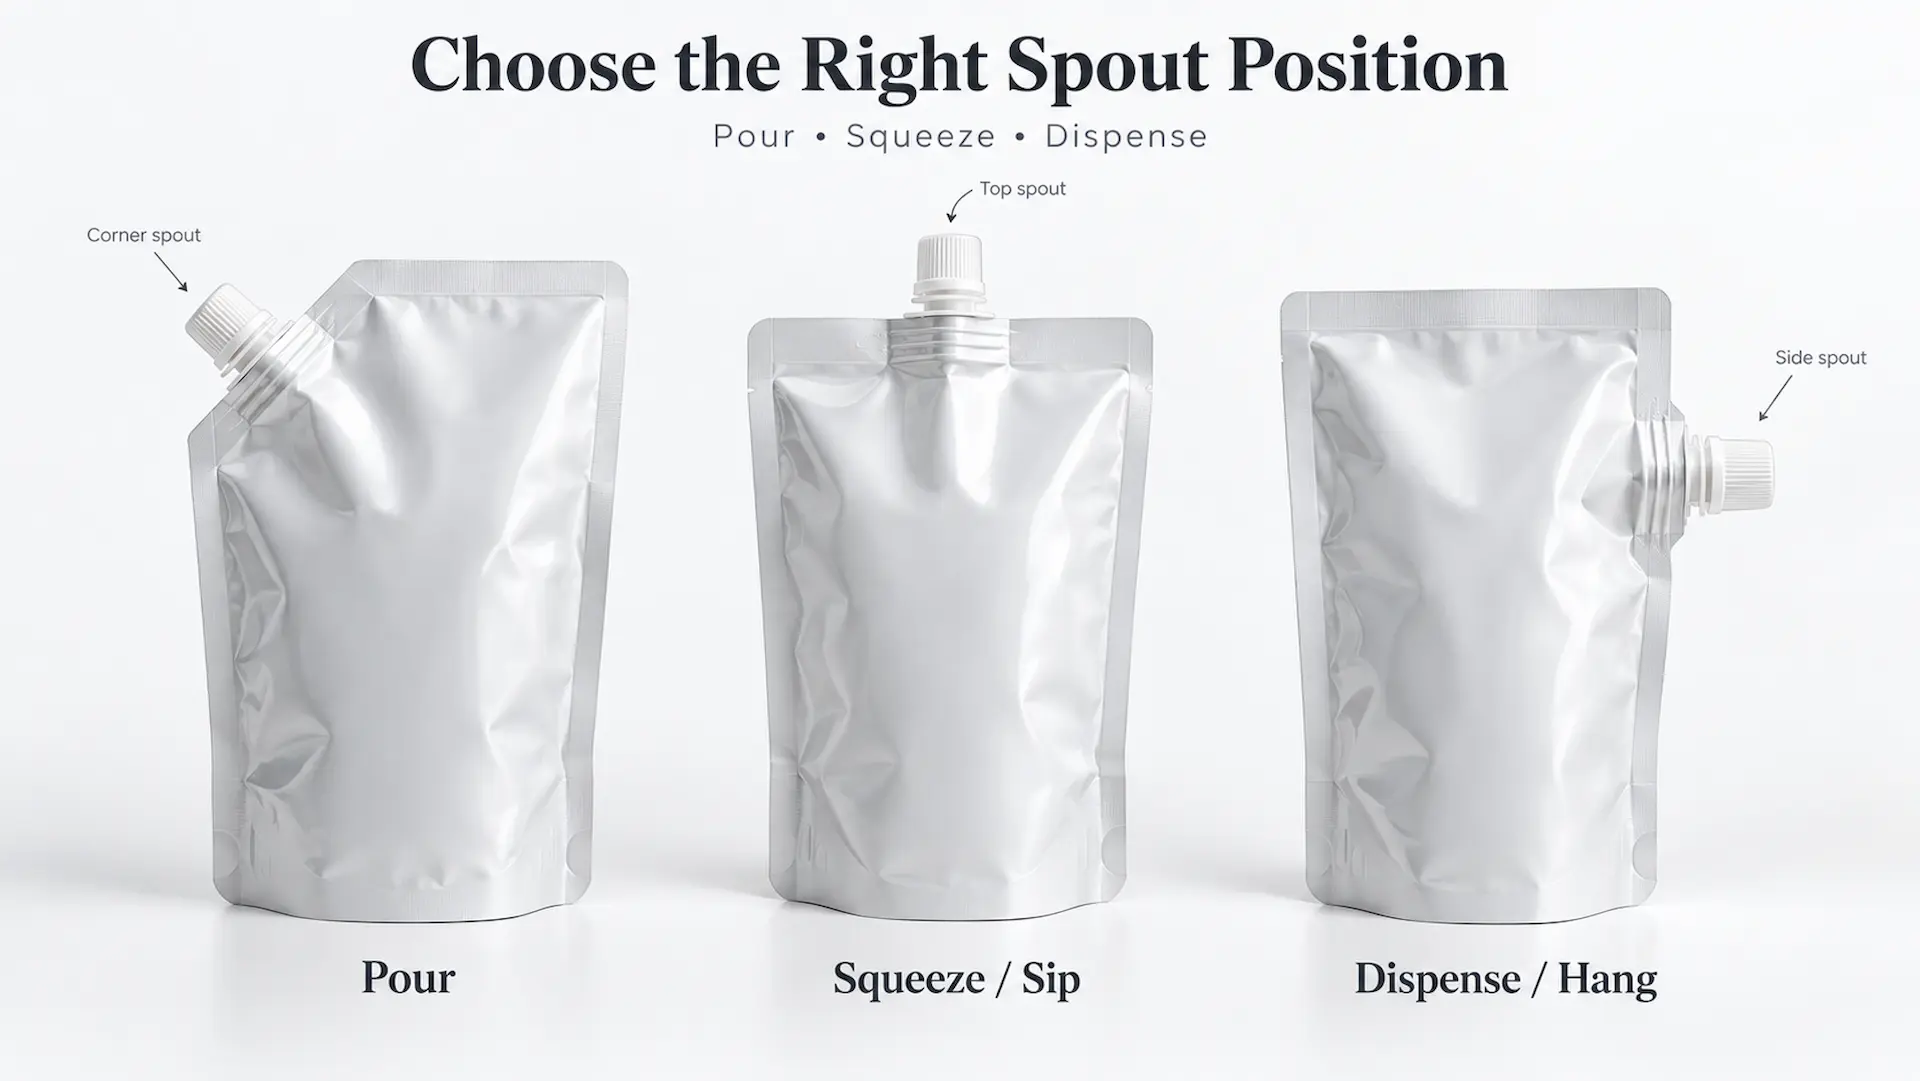
Where the spout sits changes more than you’d think. It decides how people pour, how the pack looks on a shelf, and even how smoothly your co-packer’s machine can fill it.
Spouted Pouch Format Comparison
| Format | Spout Position | Best For | Main Benefit | Key Consideration |
| Spouted stand-up | Top center or corner | Drinks, sauces, refills | Stands on shelf, big print area | Needs a stable gusset for heavy fills |
| Corner spout | Top corner | Detergents, sauces, oils | Easy, controlled pouring | Spout angle must suit the filler |
| Center or top spout | Top middle | Baby food, purées, gels | Easy to squeeze or sip | Often filled through the spout |
| Side spout | Side panel | Medical, industrial, dispensing | Hangs or lies flat | May need custom tooling |
| Custom or shaped | Varies | Samples, kids’ products, promos | Stands out on shelf | Higher setup cost |
How to Choose the Right Pouch Size and Spout Position
A pouch that looks amazing in a 3D render can still be the wrong pouch. We’ve seen it plenty of times. Instead of starting with looks, start with the product and the person holding it, then work through these steps:
- Confirm the fill volume. Pin down exactly how many millilitres or grams go into each pack.
- Think about density and headspace. A litre of thick lotion sits differently than a litre of water. Leave a little breathing room at the top so the pouch fills and seals cleanly.
- Imagine the customer using it. Is a toddler squeezing it? Is a parent pouring it into a soap bottle? Is someone hanging it upside down?
- Pick the spout position that fits that use. Squeezing points to a center spout. Pouring points to a corner. Hanging usually means a side spout.
- Check the size against the filling machine. Send the drawing to your co-packer before the artwork is approved. It takes five minutes and can save a full reprint.
- Test before you commit. Fill a few real samples with real products and see how they stand, pour, and feel.
Spout Fitments and Cap Options
The fitment is the molded plastic spout that gets heat-sealed into the pouch. It’s usually polyethylene (PE) or polypropylene (PP). Small part, big job, since it controls the flow and it’s often the first place a weak seal shows up.
Choosing the Right Fitment
No single spout suits every product, so it pays to think through a few questions before you choose:
- How thick is the product? The thicker it is, the wider the opening needs to be.
- Do you want it to gush out or trickle? A sports drink and a face serum want very different flows.
- Are there bits in it? Fruit pieces and pulp will jam a narrow spout fast.
- How quickly should it dispense for the person using it?
- Will you fill through the spout? If so, the filling nozzle has to fit inside.
- Who’s the customer? Kids, busy cooks, and salon staff all handle pouches differently.
- Will it be opened and closed many times? Then it needs to reseal well every single time.
A rough rule we use: thin liquids are happy with an 8 to 10 mm opening, and anything chunky needs a wide-mouth spout.
Common Cap and Closure Options
- Screw caps are the everyday choice. They’re cheap and reliable, and nobody needs instructions.
- Tamper-evident caps have a small ring that snaps the first time the pouch is opened, so shoppers can tell nobody’s been in it.
- Anti-choke caps are oversized on purpose, too big for a small child to swallow. You’ll see them on most baby food.
- Child-resistant closures are harder for little hands to open and are used where safety rules call for them.
- Flip-tops open with one thumb, which is great for lotions and condiments.
- Wide-mouth fitments let thick or chunky products come out without a fight.
- Valves and precision tips cover the extremes, from taps on big refill bags to needle tips for exact doses.
Match the Spout to the Product
| Product Type | Flow Characteristics | Spout Consideration | Closure Consideration |
| Juice, serum | Thin, fast | Small opening (8–10 mm) | Screw or sport cap |
| Baby food, purée | Medium, smooth | Medium, center spout | Anti-choke cap |
| Lotion, shampoo | Thick, slow | Medium to wide | Flip-top or screw cap |
| Sauce with pieces | Thick, chunky | Wide-mouth | Tamper-evident screw cap |
| Detergent, oil | Medium, needs control | Corner spout | Tamper-evident screw cap |
Important Note: Your spout and your film have to be made from compatible plastics. A PP spout won’t fuse properly to a pouch whose inner layer is PE, and that weak joint is where most leaks begin. Get your supplier to confirm the match in writing before you approve anything.
Materials and Barrier Structures for Spout Pouch Packaging
The film is the part doing the quiet work. From the day your product is filled until the last drop is squeezed out, it’s keeping out air and light and holding the seals together through bumpy trucks and hot warehouses.
There isn’t one perfect film for everything. A cold-pressed juice that needs to last months calls for far more protection than a shampoo refill that’ll be used up in a few weeks. A hot-filled sauce needs tougher layers than something filled at room temperature. When you’re picking spout pouch packaging, these are the options you’ll usually hear about:
- Clear barrier films, which let shoppers see the product and still offer decent protection
- Metallized films, which add a bit of shine and a better barrier without a big price jump
- Aluminum foil laminates, still the strongest shield against oxygen and light
- High-barrier films for products that go off quickly once air gets in
- Mono-material films made from one plastic family, which are much easier to recycle
- An inner sealant layer that suits your product and bonds to your spout
- Extra puncture or chemical resistance for oils, cleaners, and long shipping routes
A quick word on recycling. A pouch is only as recyclable as its least recyclable part, so look at the film, spout, and cap together, not just the film. The EU’s Packaging and Packaging Waste Regulation (PPWR) is one of the big reasons more brands are moving to fully matched mono-material designs.
How Are Spouted Pouches Filled?
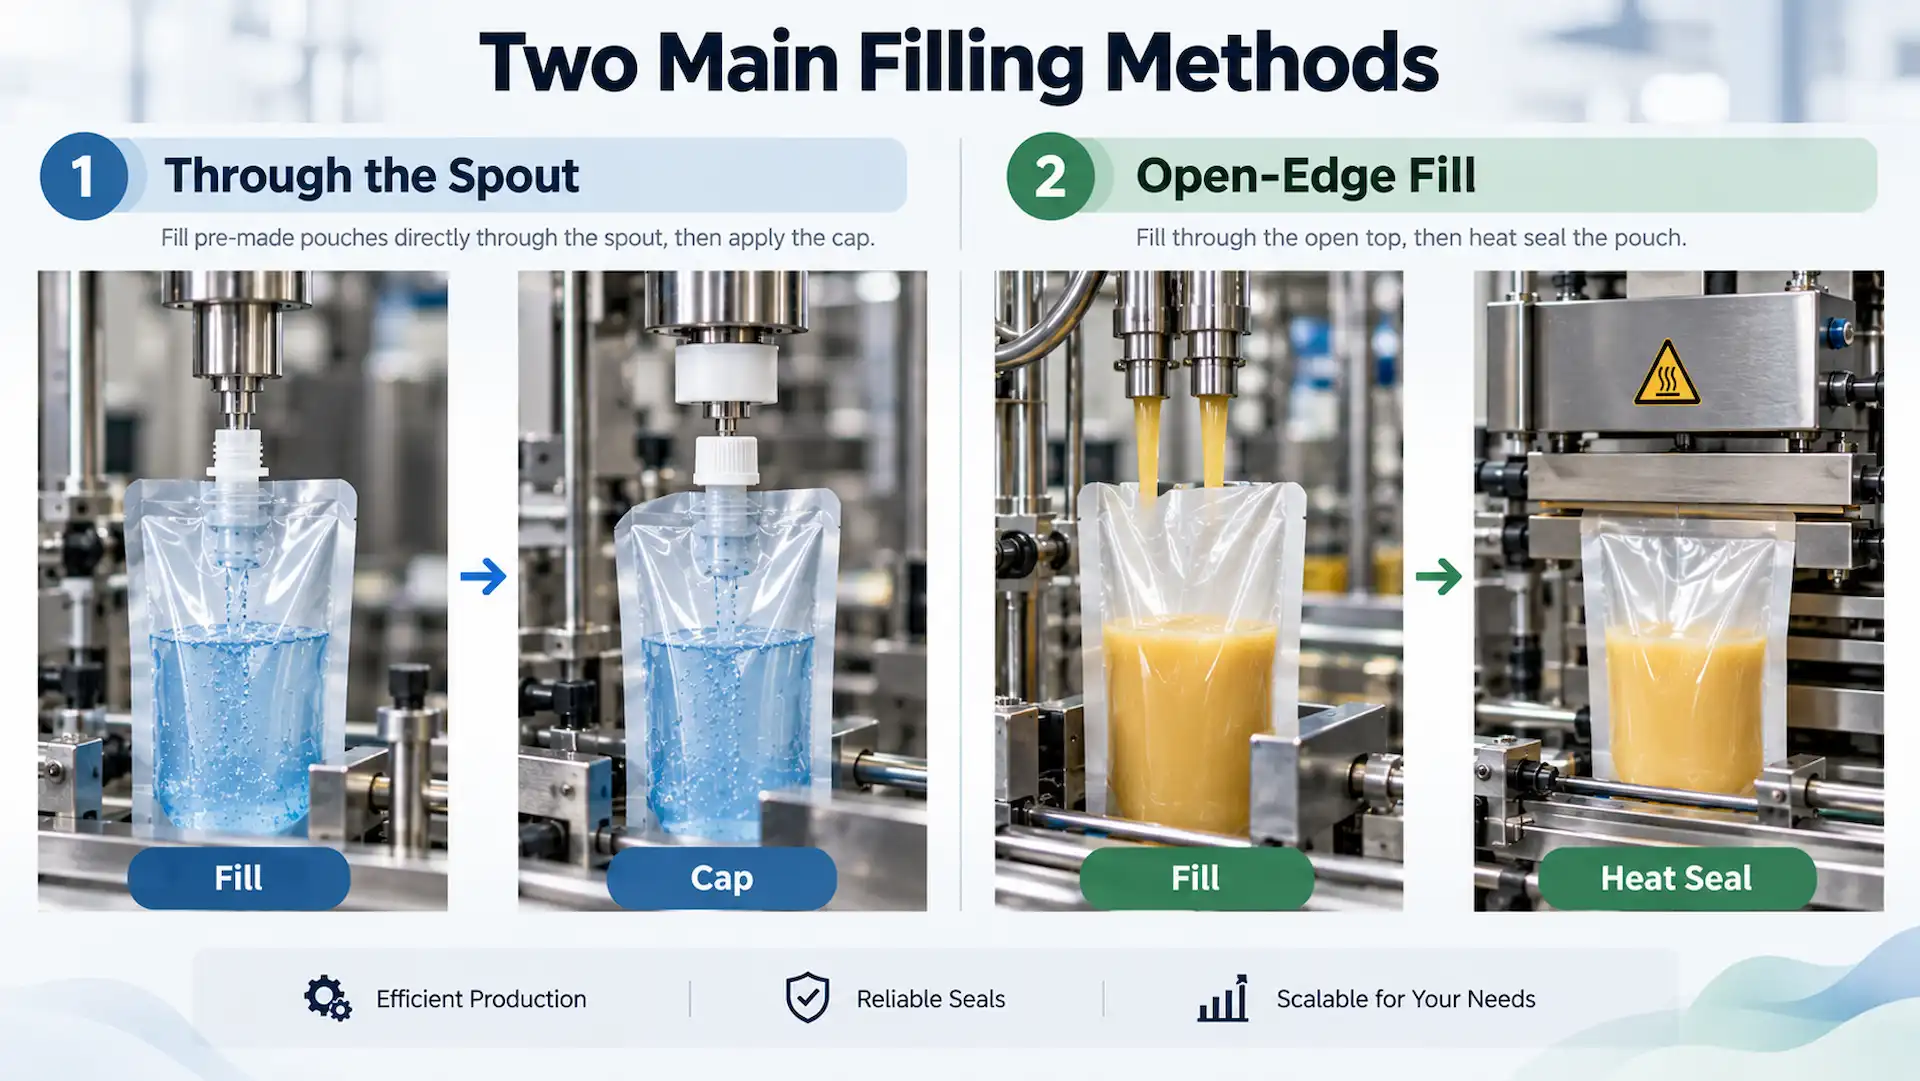
This is where a nice design meets a real machine. Almost every spouted pouch gets filled in one of two ways, and which one suits you depends on your product and on what your co-packer already runs.
Filling Through the Spout
The pouch shows up fully sealed on every edge, with the spout open and the caps packed separately. On the line, it goes roughly like this:
- The premade pouch is placed on the machine
- Product is pumped in through the spout
- The cap is screwed on
- Seal and cap are checked
It’s a clean, hygienic method because the product never touches the pouch seals. Thin to medium liquids like juice, water, oil, and light lotion suit it best. The downside is speed. That narrow opening slows things down, and thick products can struggle to get through at all.
Filling Through an Open Top or Bottom
Here the cap goes on first and one edge stays open. The machine fills through that gap, then heat-seals it. It’s faster and handles thick sauces and creams easily, but splashes on the open edge can weaken the seal, so that area must stay clean.
Most brands fill premade pouches with the spout already fitted, while large brands may use form-fill-seal machines that make pouches from a film roll. Before ordering, confirm that the nozzle fits the spout, the capper suits your cap, and the line meets your speed needs.
Ambient, Hot-Fill, Aseptic, and Retort Spouted Pouches
What happens during and after filling makes a huge difference. Heat, pressure, and sterilizing each put the film, spout, seals, and cap through a very different kind of stress.
Filling and Processing Methods
| Process | Typical Use | Packaging Requirement | Key Consideration |
| Ambient / Cold Fill | Shelf-stable or refrigerated products | Standard compatible structure | Product compatibility |
| Hot Fill | Heat-filled sauces and drinks | Heat-resistant structure and fitment | Exact fill temperature |
| Aseptic | Sterile drinks and dairy | Aseptic-compatible package and system | Sterility control |
| Retort | Thermally processed foods | Retort-grade structure | High heat and pressure |
Don’t treat these as swappable. A pouch designed for cold filling can soften and warp on a hot-fill line, and only purpose-built retort pouches will come out of retort cooking in one piece. Mention your process in the very first conversation with your supplier.
Custom Printed Spout Pouches: Design Without Compromising Function
Your pouch has to be sold. But the spout sits right where the best branding space would be, so the smart move is to design around it rather than fight it.
- Keep your logo and key text well clear of the spout, where they can get hidden or warped.
- Leave the seal and gusset areas alone. Prints there tend to crease or get crushed.
- Remember that a full pouch bulges, so flat artwork will stretch a little on the shelf.
- Give ingredients, warnings, and barcodes a flat, clear spot where they’re easy to read.
- Pick a printing method that fits your order size and how many designs you’re running.
- Choose finishes on purpose. Matte, gloss, windows, and metallic ink all change how the pouch looks and feels.
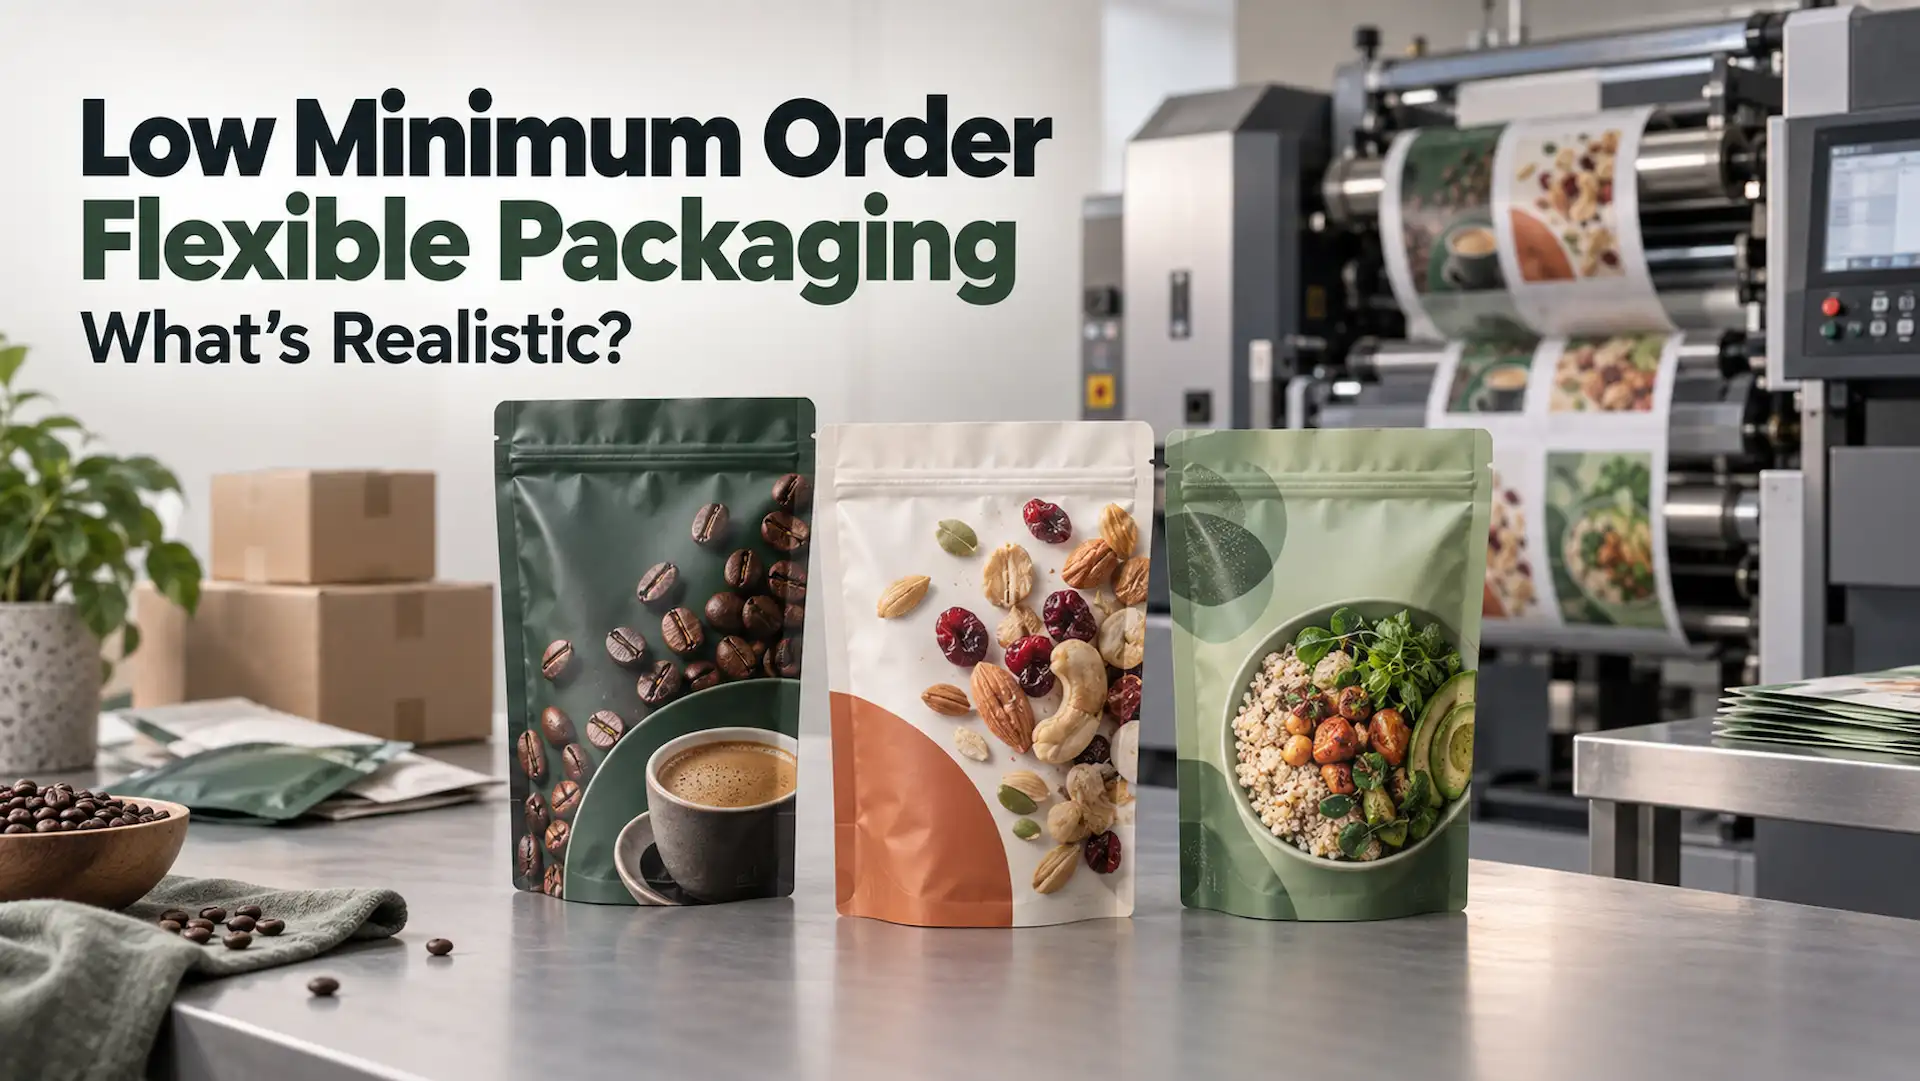
On printing itself, digital is the go-to for launches and small runs because there are no plates to make. Our guide to low minimum order packaging explains how small you can realistically go. Rotogravure costs more to set up, but on big orders it brings the per-pouch price way down. And if your brand lives or dies by one exact shade of red, it’s worth reading how Pantone and spot colours actually behave on flexible film.
Where Spouted Pouches Work Best
Baby food got pouches with spouts started, but they’ve spread into nearly every aisle since. These are the places they tend to earn their keep.
Common Applications
- Food and beverages: sauces, purées, syrups, drinks, and condiments. They’re light, hard to spill, and the cap keeps leftovers fresh in the fridge.
- Cosmetics and personal care: shampoo, lotion, cleanser, and gels. A cosmetic spout pouch makes a tidy refill, so customers keep their nice bottle and top it up.
- Household products: detergent, dish soap, and cleaning concentrates. A corner spout makes refilling the original bottle easy and mess-free.
- Industrial liquids: oils, lubricants, and specialty fluids. These need tough films and solid caps, which we cover in our guide to chemicals, lubricants and industrial products.
- Pet and specialty products: liquid supplements and food toppers. A controlled pour helps owners give the right amount without spilling.
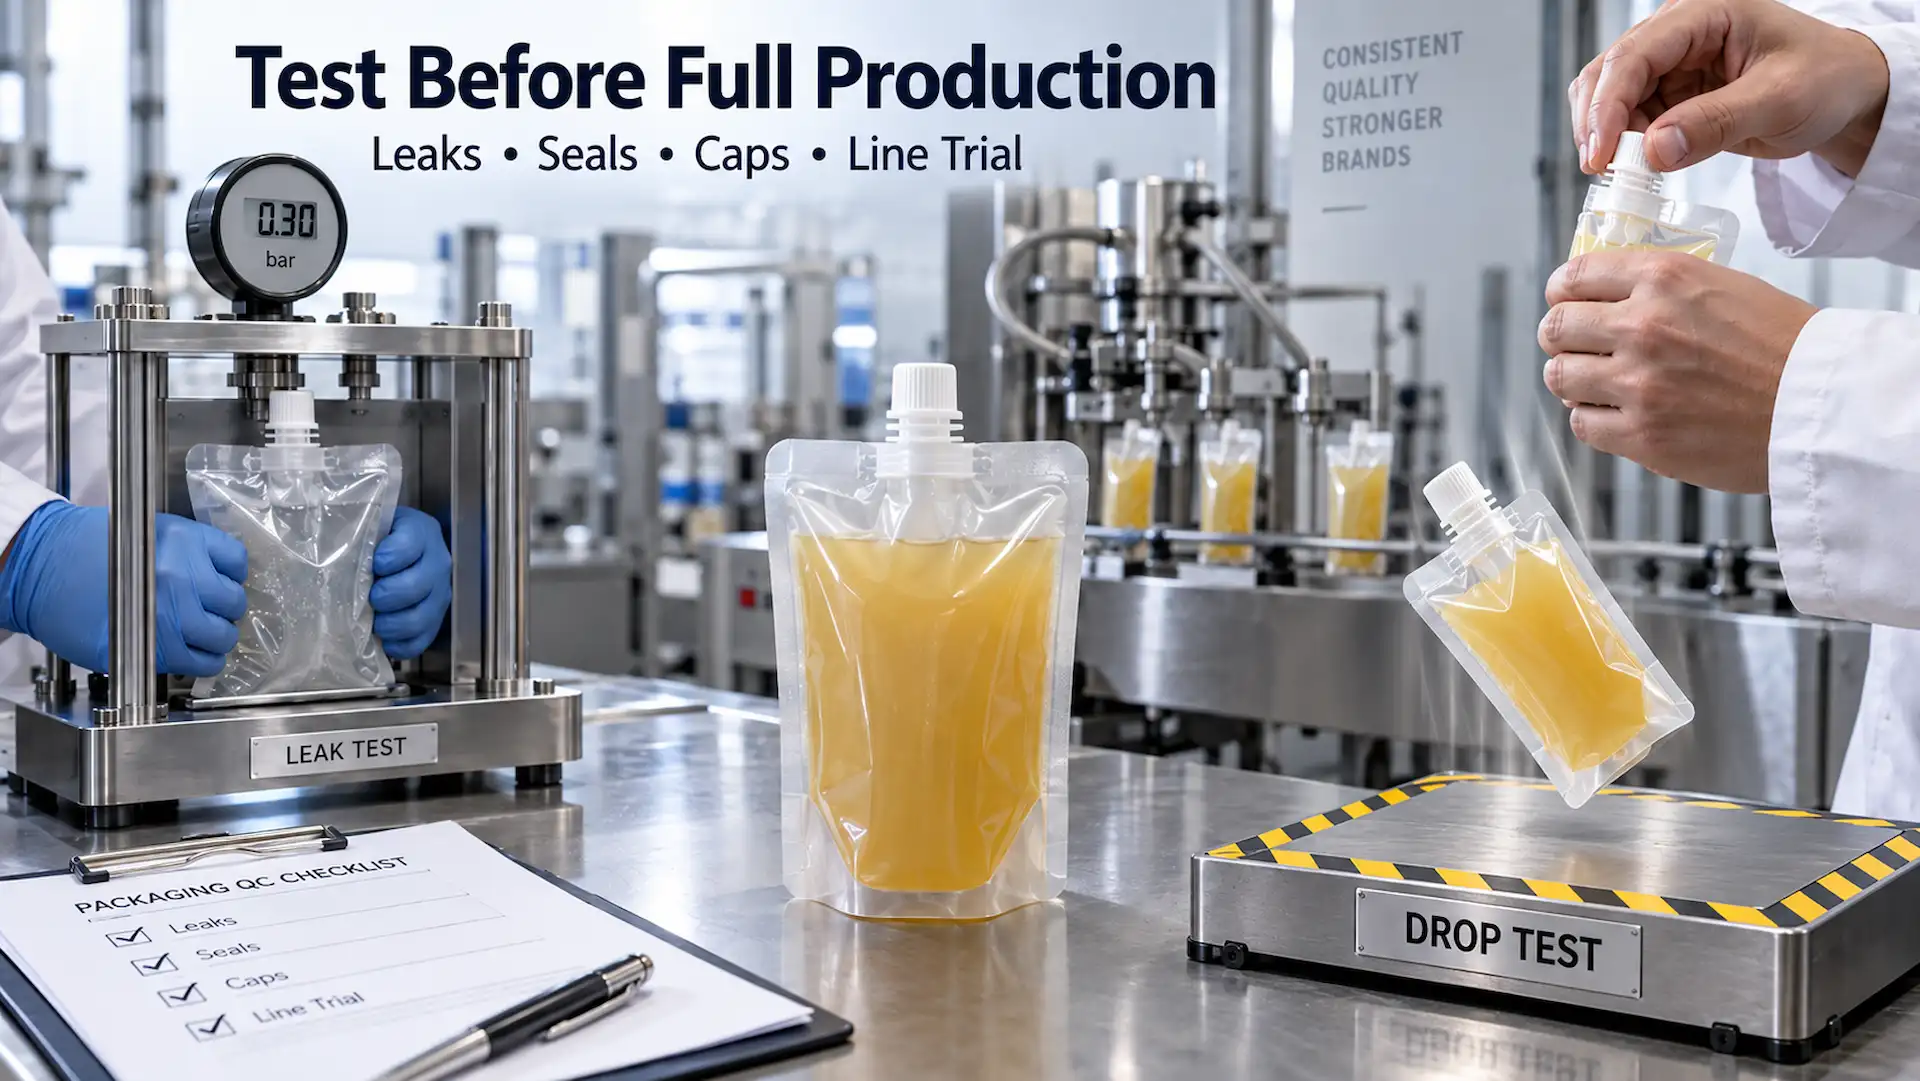
What to Test Before Ordering Custom Spout Pouches
On screen, every pouch looks perfect. The delivery van is where you find out the truth. Here’s what we’d check before signing off:
- Product and film compatibility. Leave filled samples on a shelf for a few weeks, then look for swelling, odd smells, or layers peeling apart.
- Spout seal strength. Squeeze hard and twist the spout. It shouldn’t budge.
- Pouch seals. Run your fingers along every edge and look for weak or uneven spots.
- Leaks. Press a few filled pouches, and leave some lying on their side overnight.
- Drops. Drop them from table height onto a hard floor, a few times each.
- Burst strength. Many suppliers use ASTM International test methods for this.
- The cap. Open and close it twenty or thirty times, just like a real customer would.
- The filling line. Run a short batch on the actual machine at full speed.
- Shipping. Send a few cases out and see what state they arrive in.
- Shelf life, if it matters. Make sure the barrier holds up until your best-before date.
Do all of this before the big run, not after. It feels slow at the time. It’s much slower to deal with a recall.
Important Note: Never sign off a full production run from a digital proof alone. Get physical samples, fill them with your actual product, and put them through a proper trial. It might add a week or two, but that’s nothing compared to a warehouse full of pouches that leak.
Custom Spout Pouch Specification Checklist
Before you ask anyone for a quote on a custom spout pouch, gather these details:
- Product being packed
- Product viscosity
- Presence of pulp or particles
- Fill volume
- Pouch dimensions
- Pouch format
- Spout location
- Spout opening size
- Fitment type
- Cap type
- Filling method
- Fill temperature
- Barrier requirements
- Material preferences
- Printing method
- Finish
- Number of SKUs
- Order quantity
- Testing requirements
- Regulatory or compliance requirements
- Co-packer or filling-line details
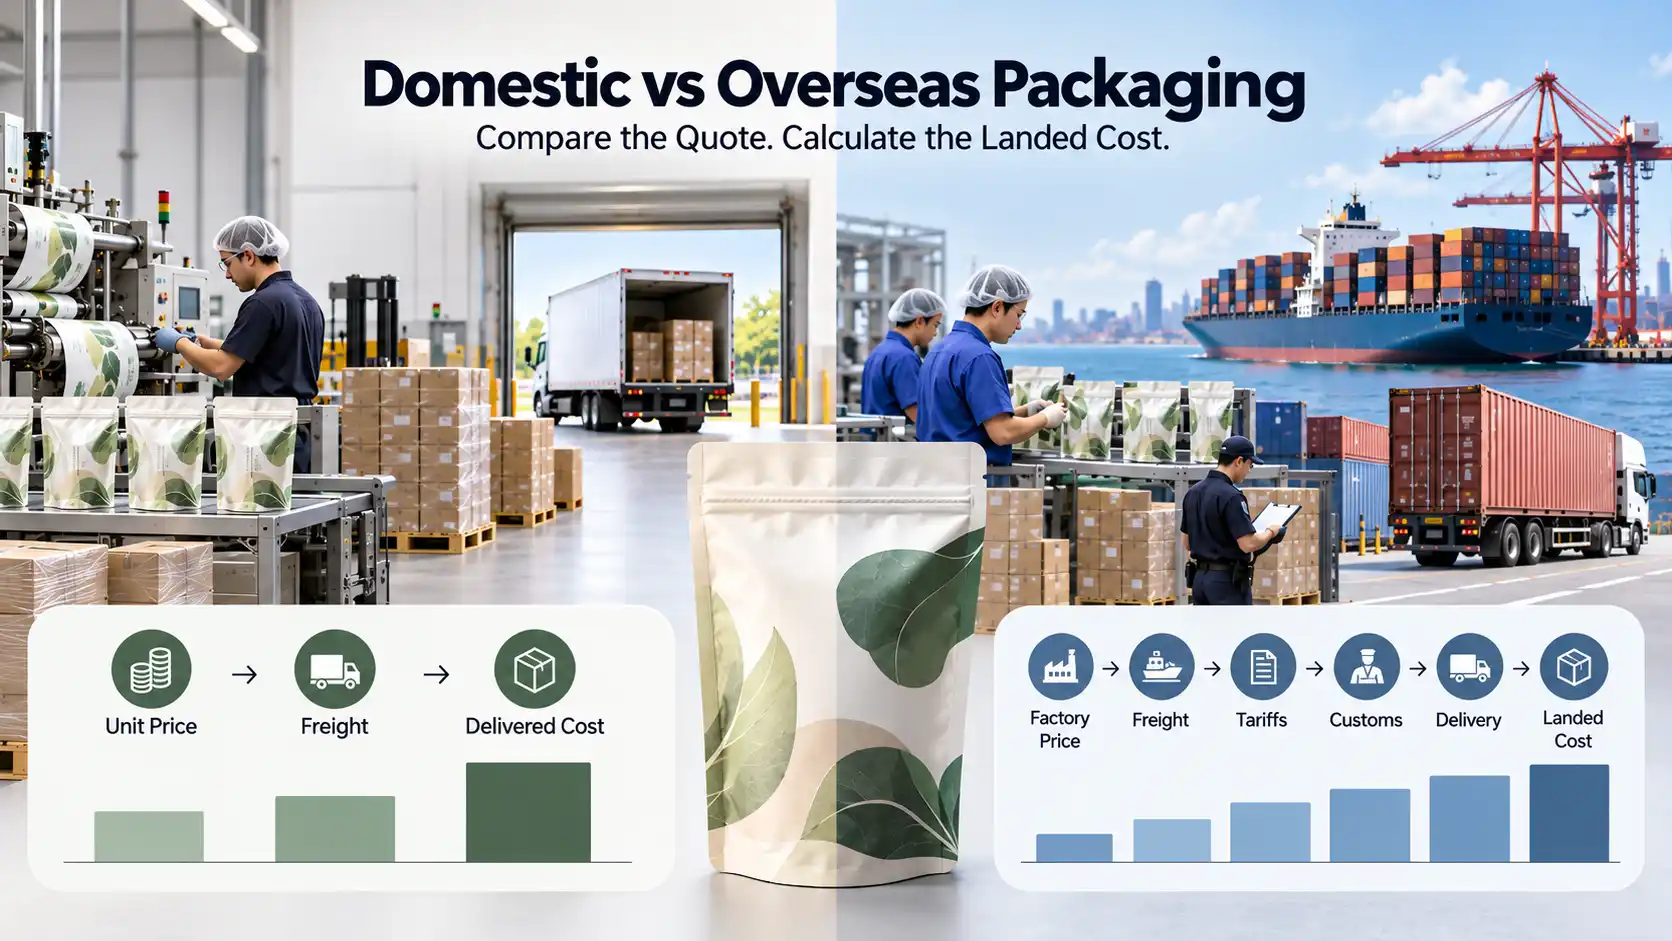
With all this in hand, a supplier can recommend the right build on the first try instead of the third. It also makes quotes far easier to compare side by side, especially if you’re weighing domestic vs overseas packaging suppliers and need to look at total landed cost, not just the price per pouch.
Choosing the Right Spouted Pouch for Your Product
Shape and looks are only part of the story. The right spouted pouch comes from choosing every part together, with your product’s behavior in mind the whole time. Before you finalize your pouch, ask yourself a few quick questions:
- Does the spout position suit the use? A pouring product needs a corner spout, while a squeezable one works better with a center spout.
- Will the cap do its job? Think about resealing, tamper evidence, and child safety.
- Can the film handle your process? Hot-fill and retort products need tougher, heat-resistant structures.
- Will it run on your co-packer’s line? Check the nozzle size, capping equipment, and line speed.
- Does the artwork avoid the spout and seals? Key text and barcodes should stay clear and readable.
Run your choices past both your pouch supplier and your filling partner before production. A handful of samples and one short line trial can save you from some very expensive surprises.
Conclusion
Spouted pouches give brands a lighter, cheaper-to-ship alternative to bottles, but only when every part fits the product inside. The right format makes pouring feel natural. The right fitment and film keep the product fresh and leak-free.
Before you order, share your specs with your supplier and filling partner, then test real samples on your actual line. That small step up front means your pouch will work as well as it looks when it reaches the shelf.
Need Help Choosing the Right Custom Spout Pouch?
Tell us what you’re packing, how much goes in each pouch, and roughly how many you need. Our team will suggest the right build and send you a custom quote.
Request your free quote today.
FAQs
1- What are spouted pouches used for?
They’re used for anything that pours or squeezes, like baby food, juice, sauces, shampoo refills, detergent, and oil. They do a bottle’s job with less plastic and cost less to ship.
2- What is the difference between a corner spout pouch and a center spout pouch?
A corner spout pouch is built for pouring, so it suits refills, sauces, and oils. A center spout pouch is built for squeezing or sipping, which is why you see it on baby food and energy gels.
3- How do I choose the right spout size for my product?
Go by how thick your product is. Thin liquids flow fine through an 8 to 10 mm spout, thicker ones need something wider, and anything chunky needs a wide-mouth spout so it doesn’t clog.
4- How are spouted pouches filled?
Either through the spout, with the cap added afterward, or through an open top or bottom edge that’s sealed once the pouch is full. The first is cleaner, and the second is faster for thick products.
5- Can spouted pouches be used for hot-fill or retort products?
Yes, if the pouch is designed for it. Hot-fill and retort pouches need heat-resistant films and spouts, so tell your supplier your exact process before you order.
6- Can custom spouted pouches be printed with my branding?
Yes. You can print full-color logos, product details, and barcodes, and choose finishes like matte, gloss, clear windows, or metallic accents to match your brand.